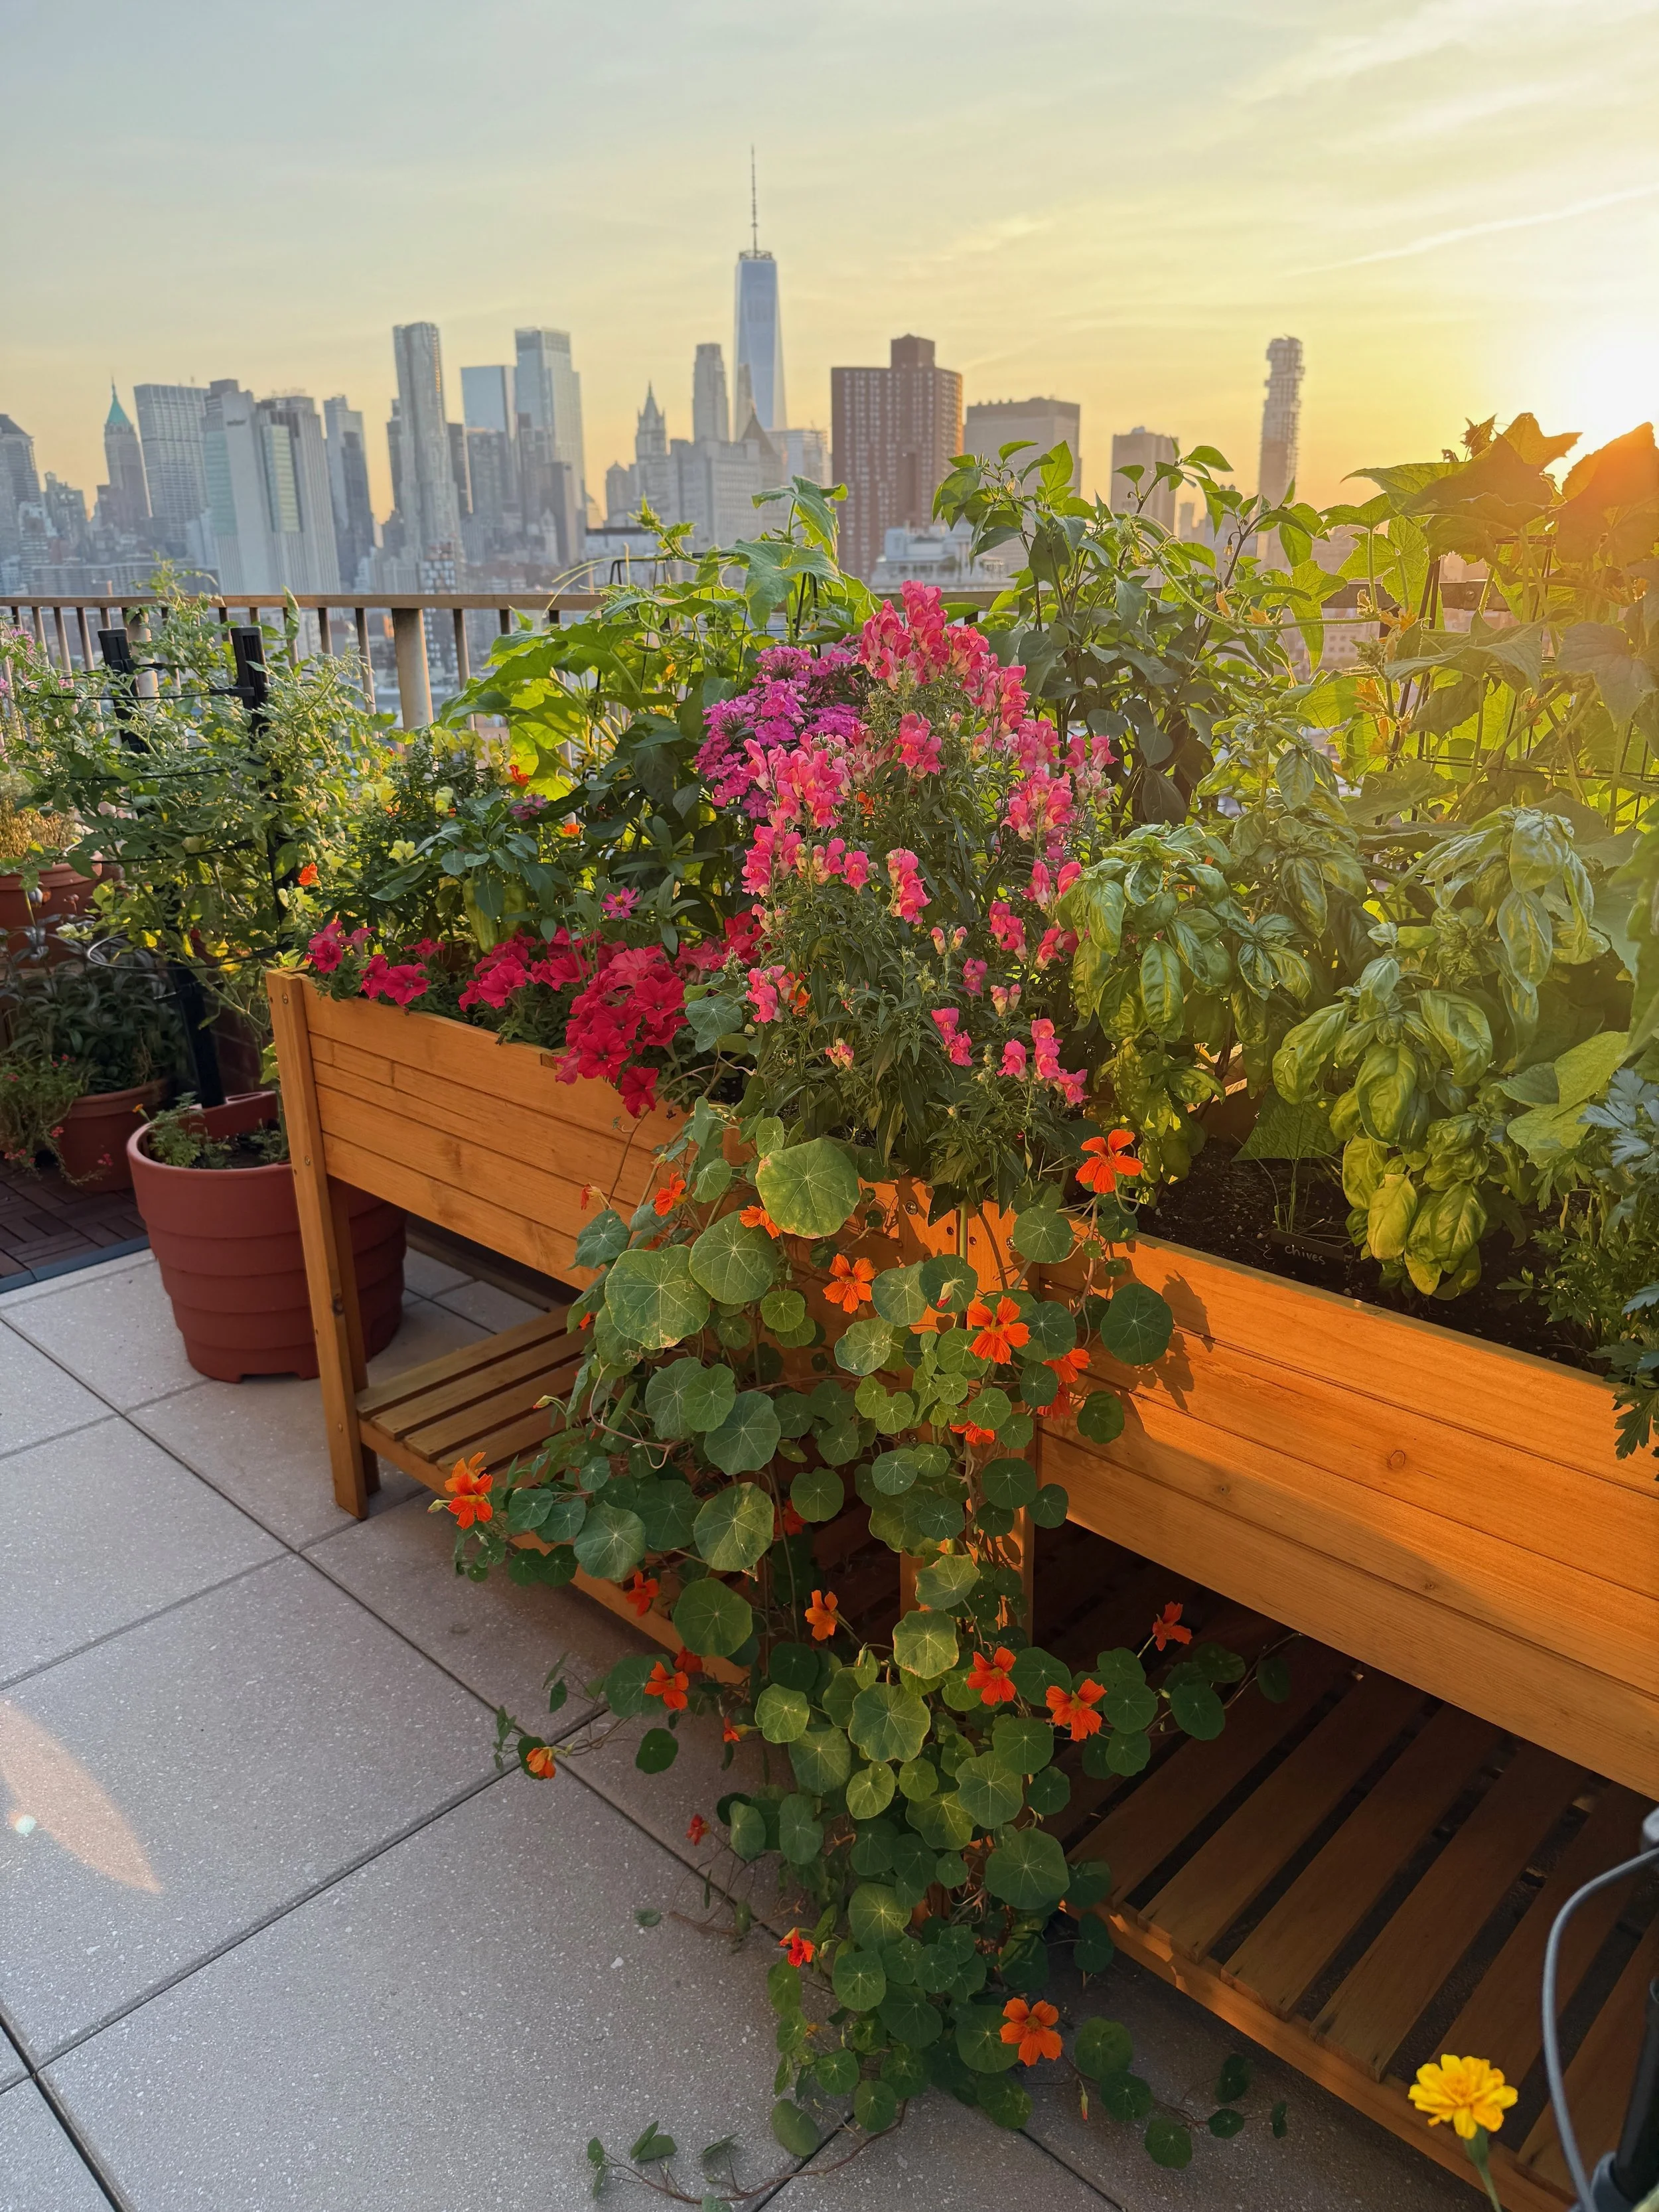
Growing a terrace garden in NYC (part III)
Hello, friends! It’s been a minute!
I haven’t written much lately because I’ve been out in these streets organizing around housing and traffic safety and out in our garden tending to my crops. But I’m happy to report that across the board, good things are growing!

Backing up a little: At the end of June, right before the mayoral primary (which: LONGEST YEAH BOY EVER), NYC had a nasty heat wave and our plants suffered a bit. The nasturtium had a pretty rough go of it, and there were some nutrient deficiencies all around. Meanwhile, the hanging petunias, which were already having a hard time, got super dry and scraggly, despite the fact that the soil was definitely moist. Erik has been amazingly helpful in terms of how to solve these problems (a little fish fertilizer here, a little hydrogen peroxide solution there!), but his best general advice was to give everything way more water to get it to start growing like crazy. I had him show me exactly how he’d water everything, and…yeah, it was definitely a lot more water than I had been using! Our plants weren’t dry, but I was definitely being too timid with the hose. The extra water has made a huge difference; everything is looking way more colorful and lush.
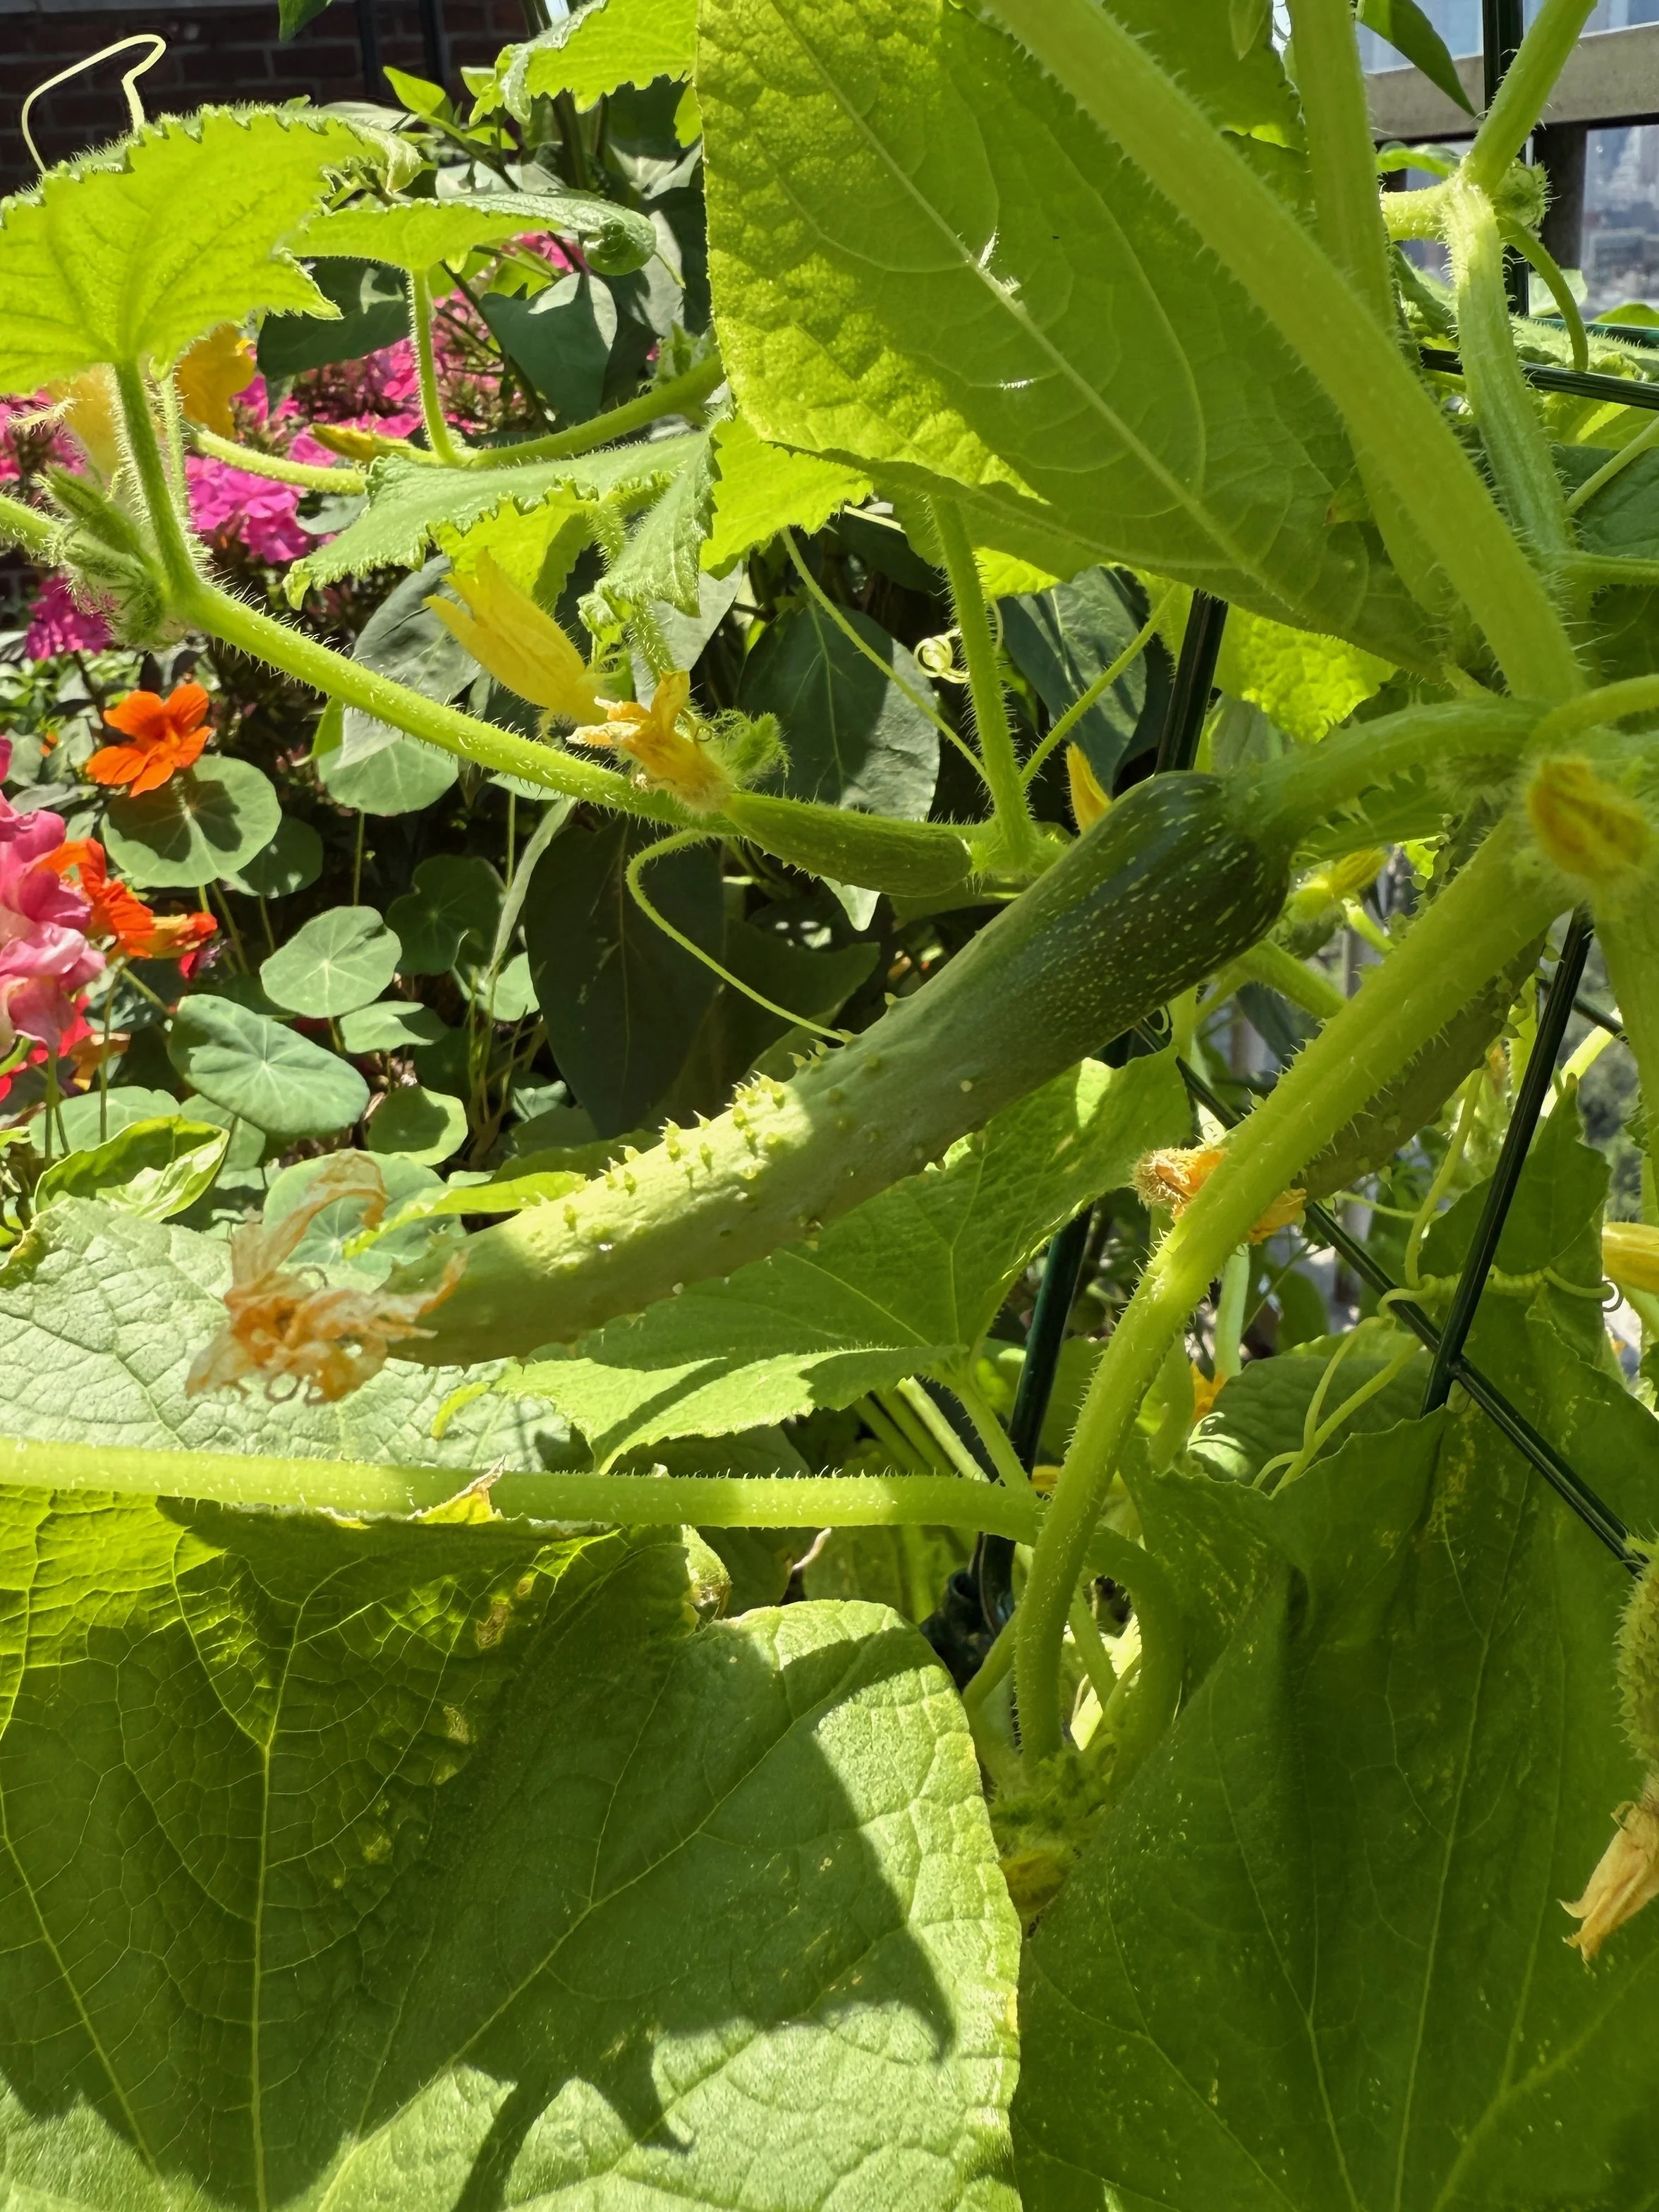
The other big change is that we bid farewell to our cooler-weather veggies (the radishes and lettuce) and are now growing bush beans and “bush” cucumbers. I put the latter in quotes because these guys are still extremely viney. After a couple of weeks of them flopping all over the place and wrapping their little fingies around everything, I put in some small trellises; giving them something to cling to really helped and is also doing a lot for the planters aesthetically! The yellow flowers have attracted tons of big fat fuzzy bees, and lots of little cucumbers have started appearing.
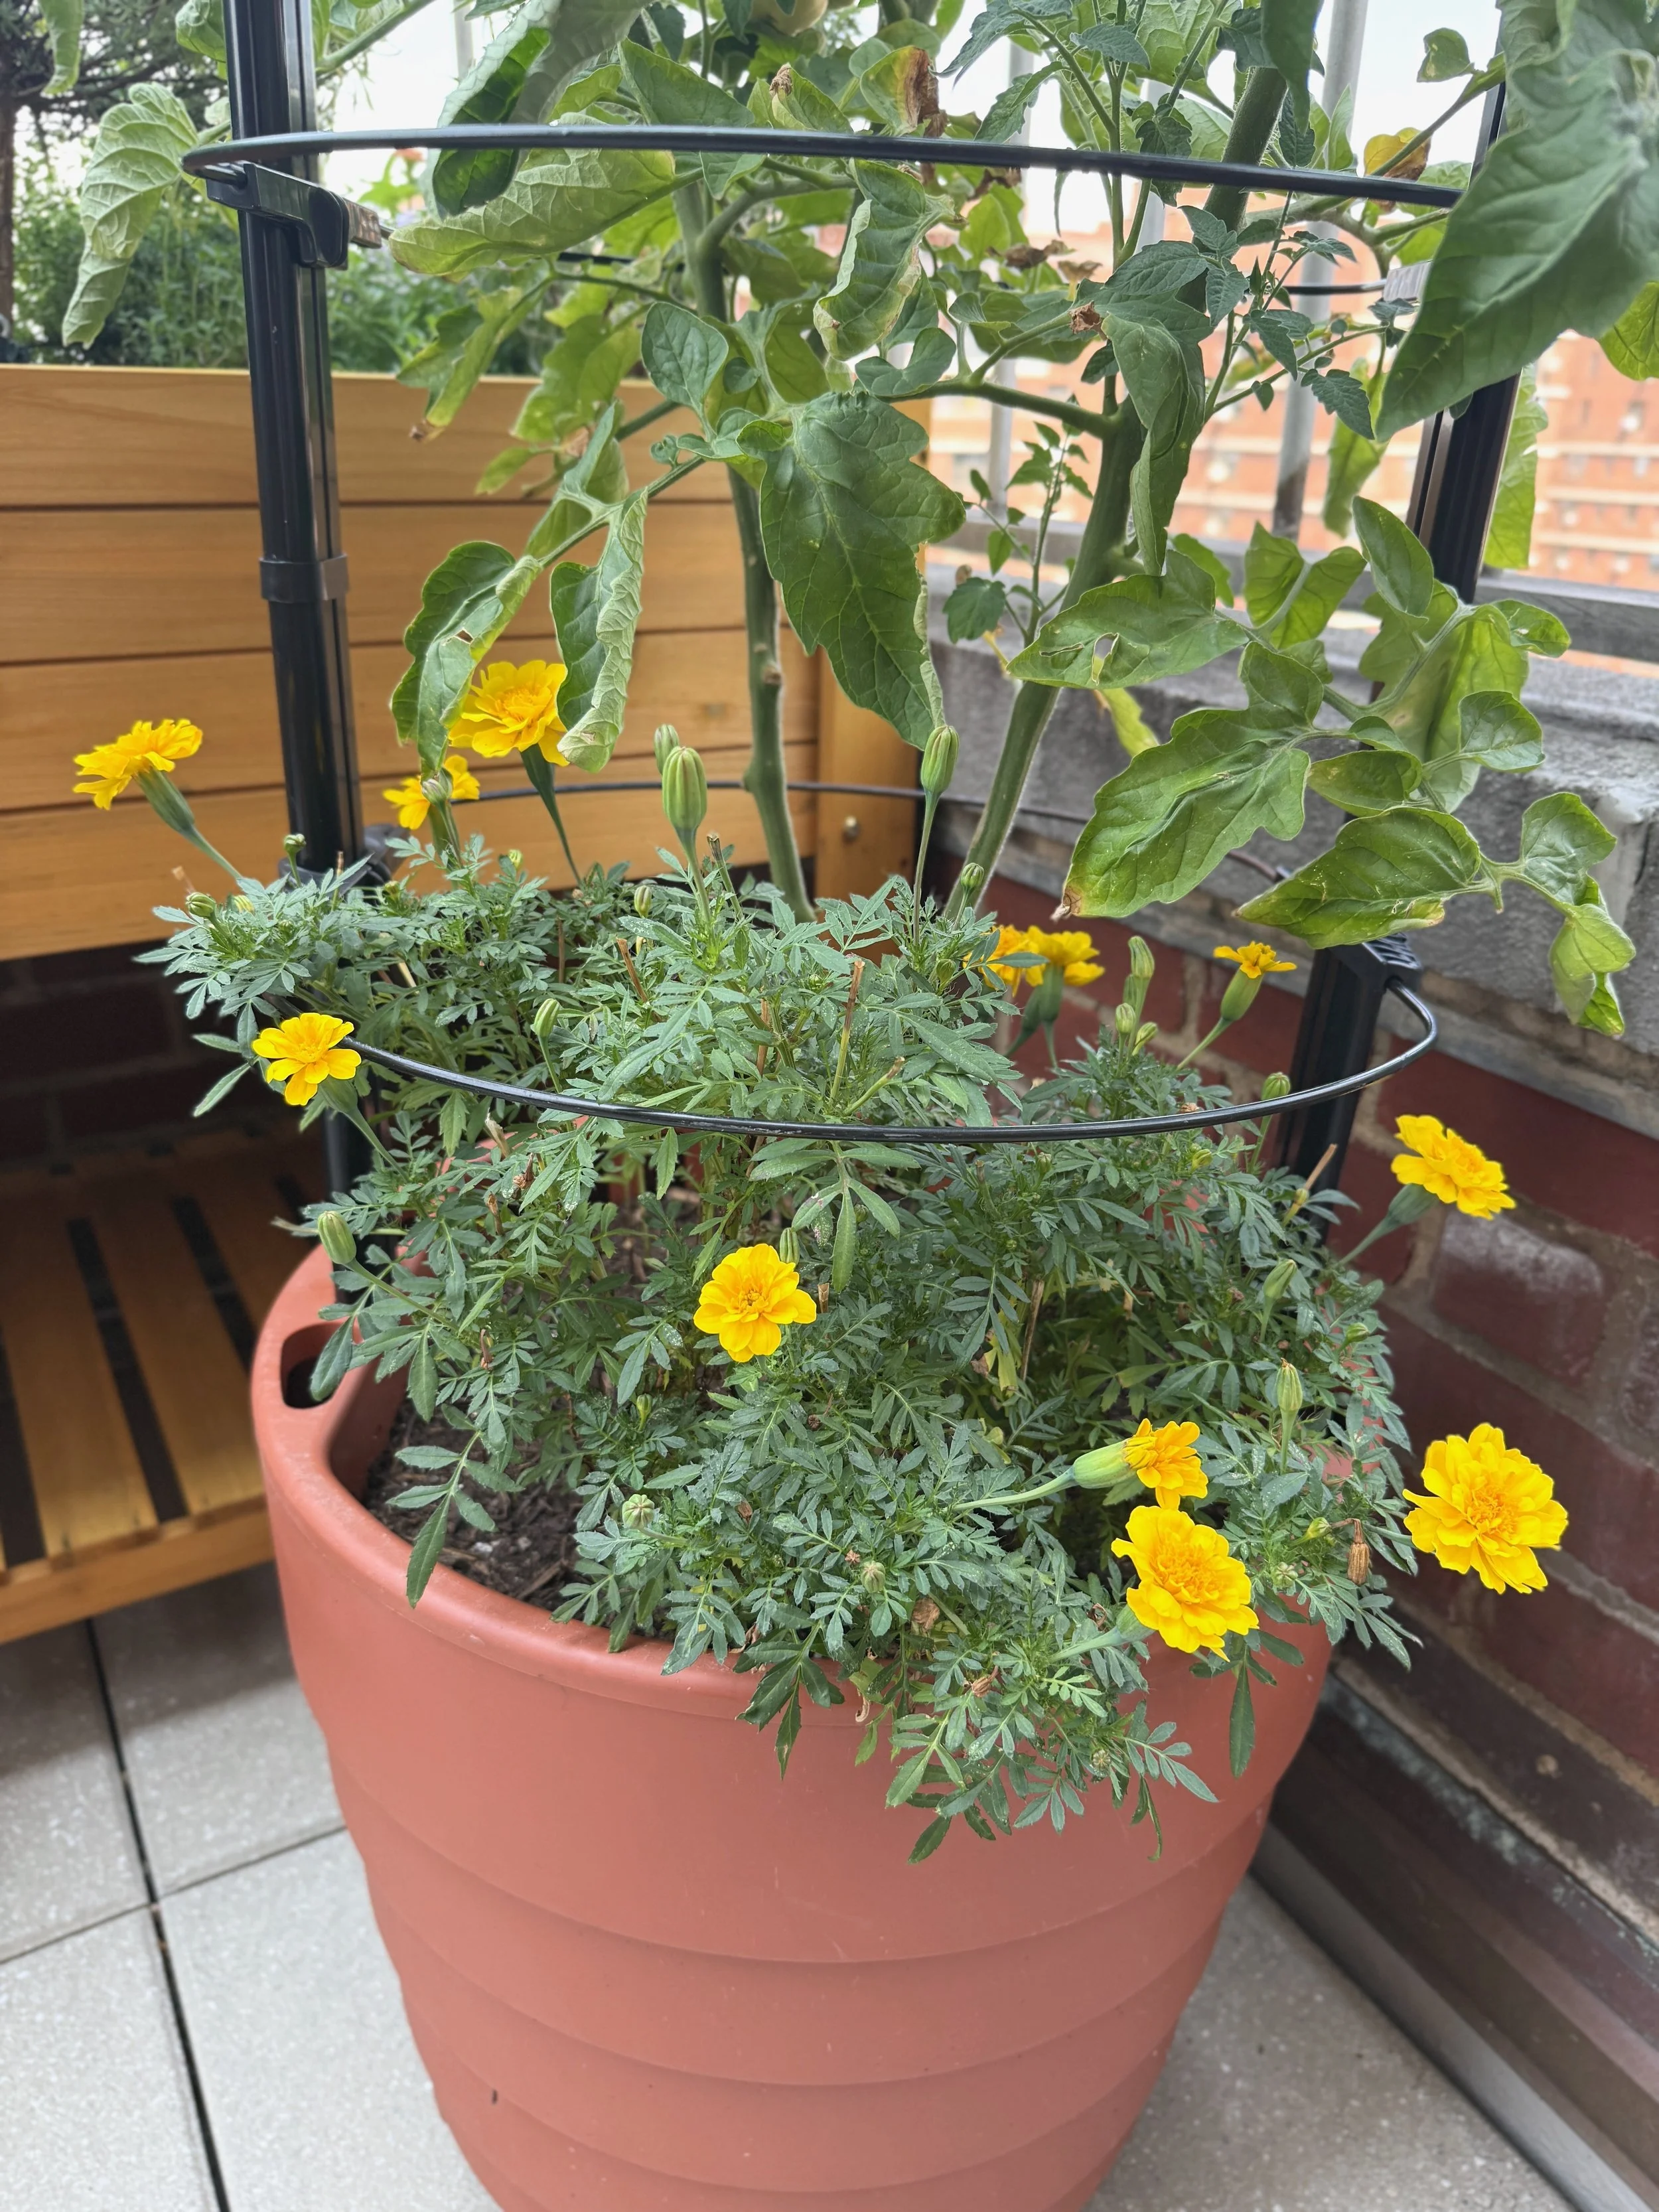
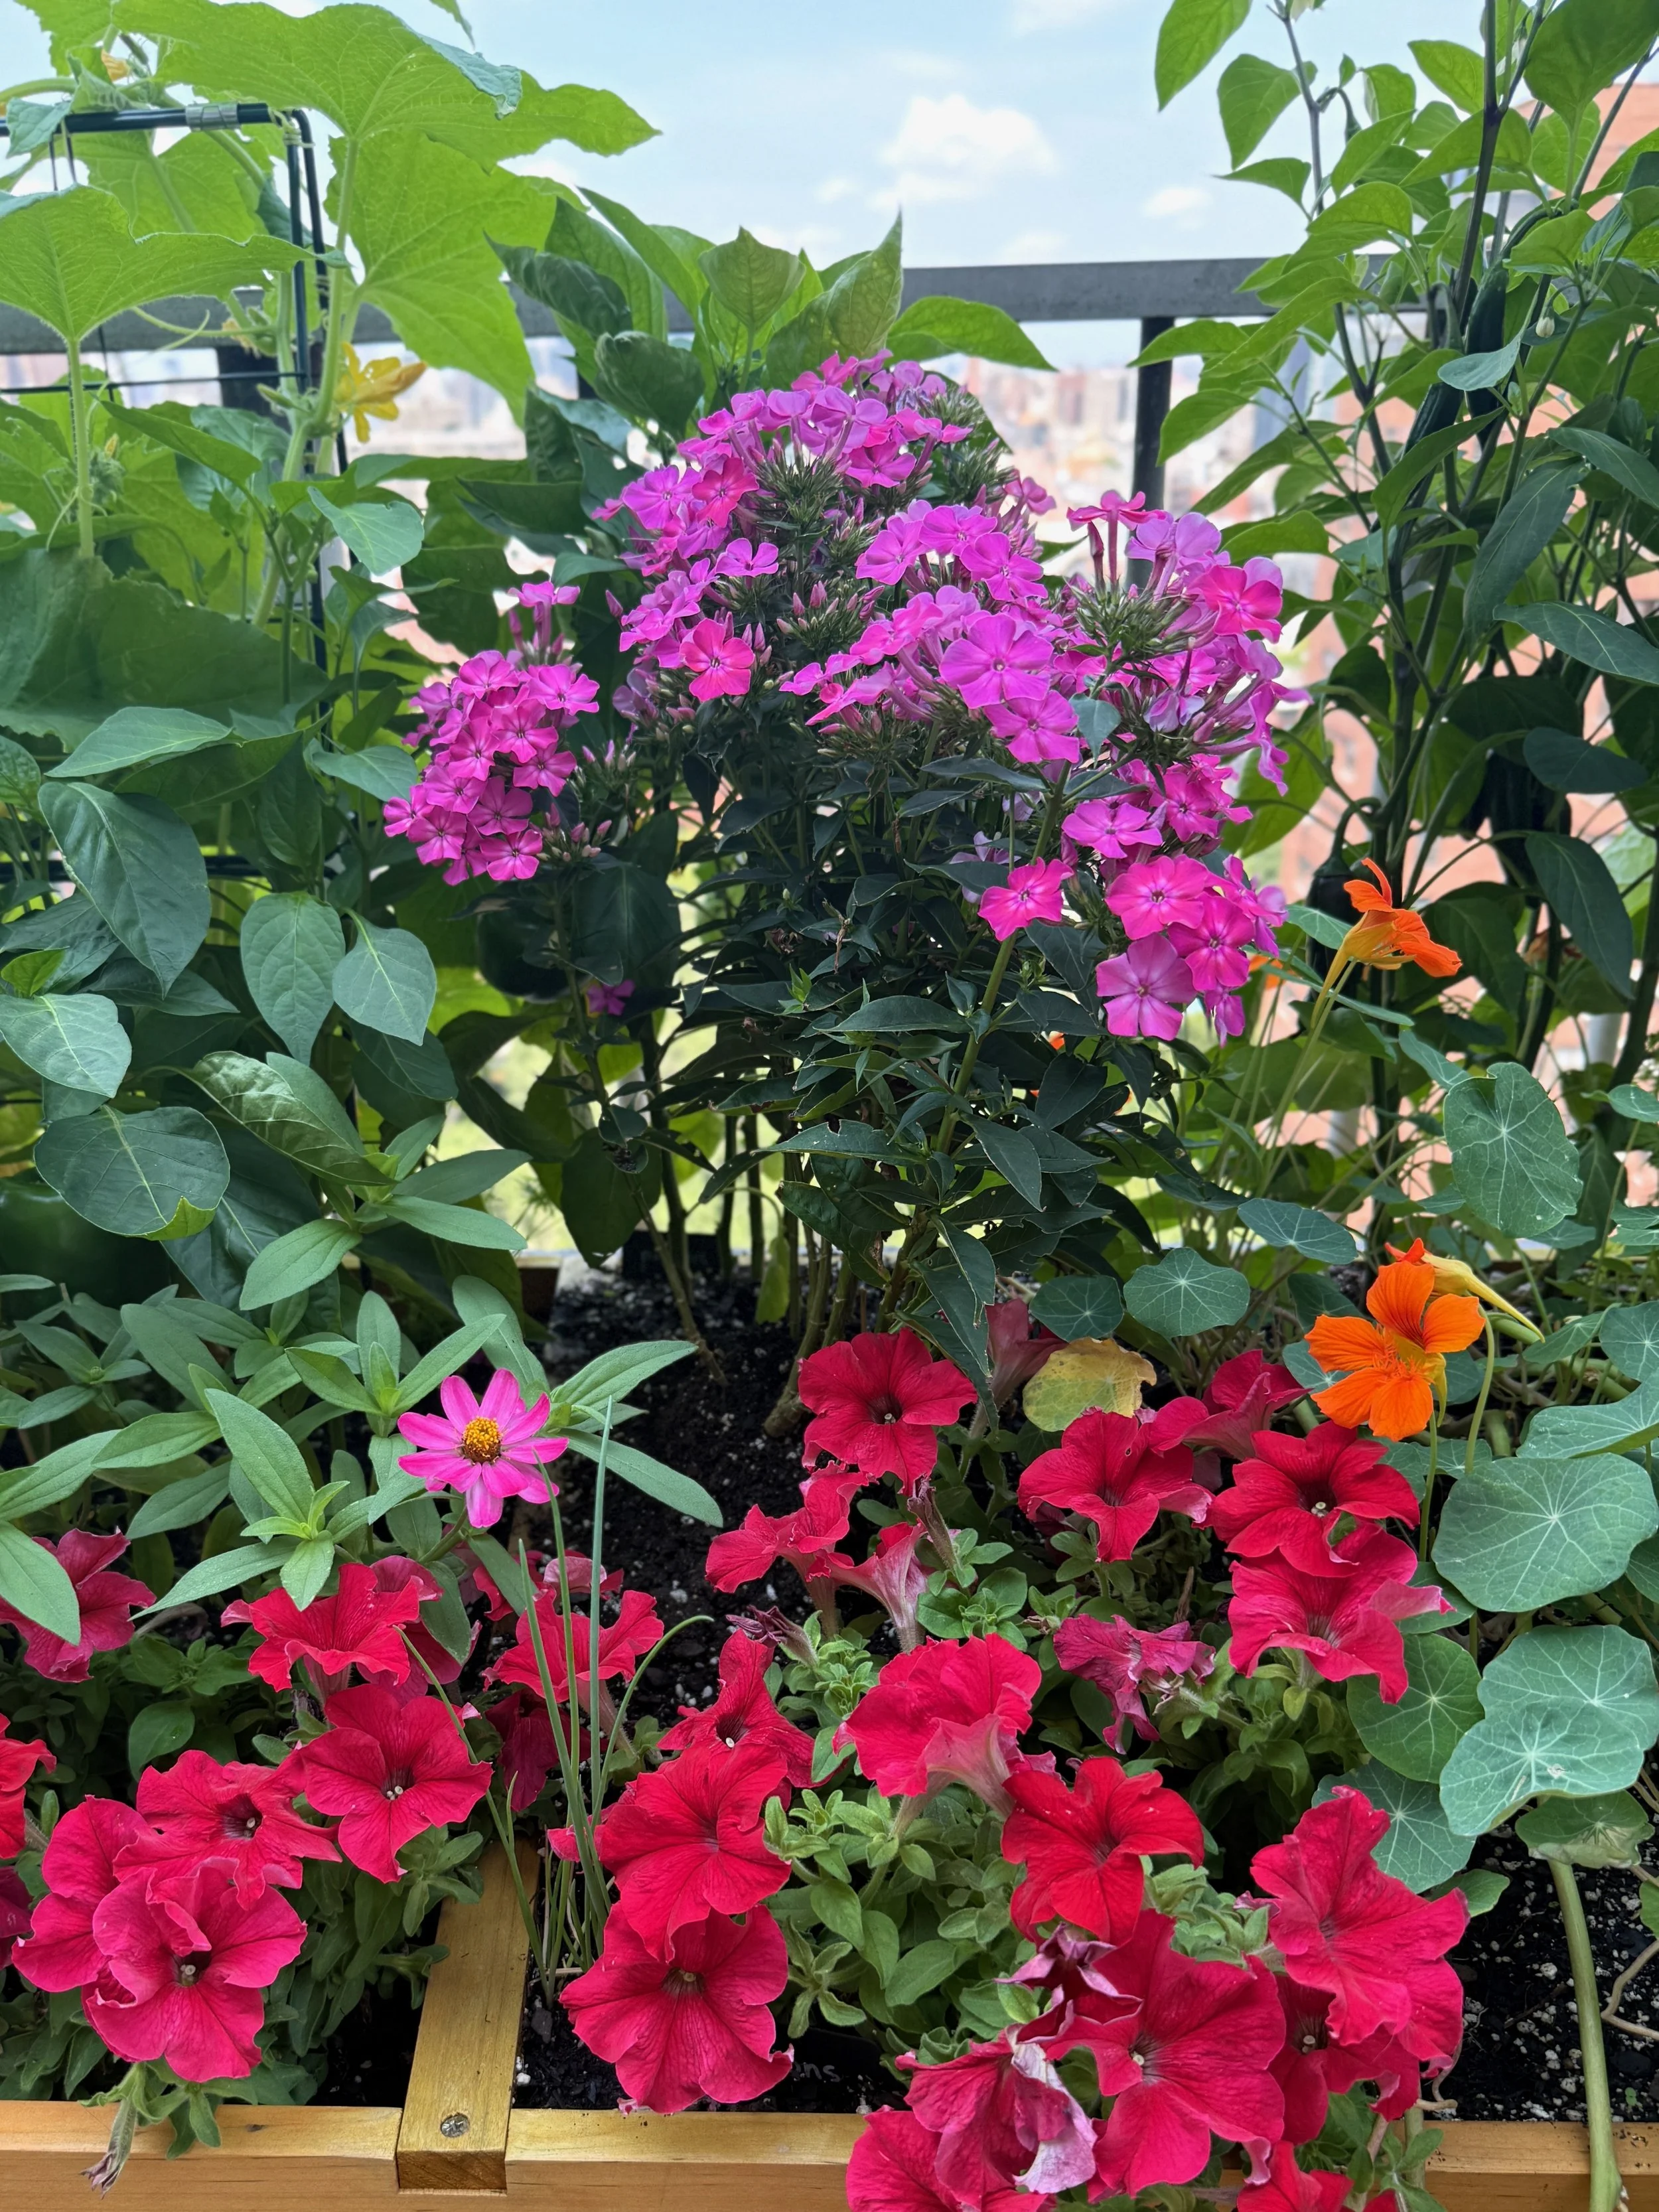
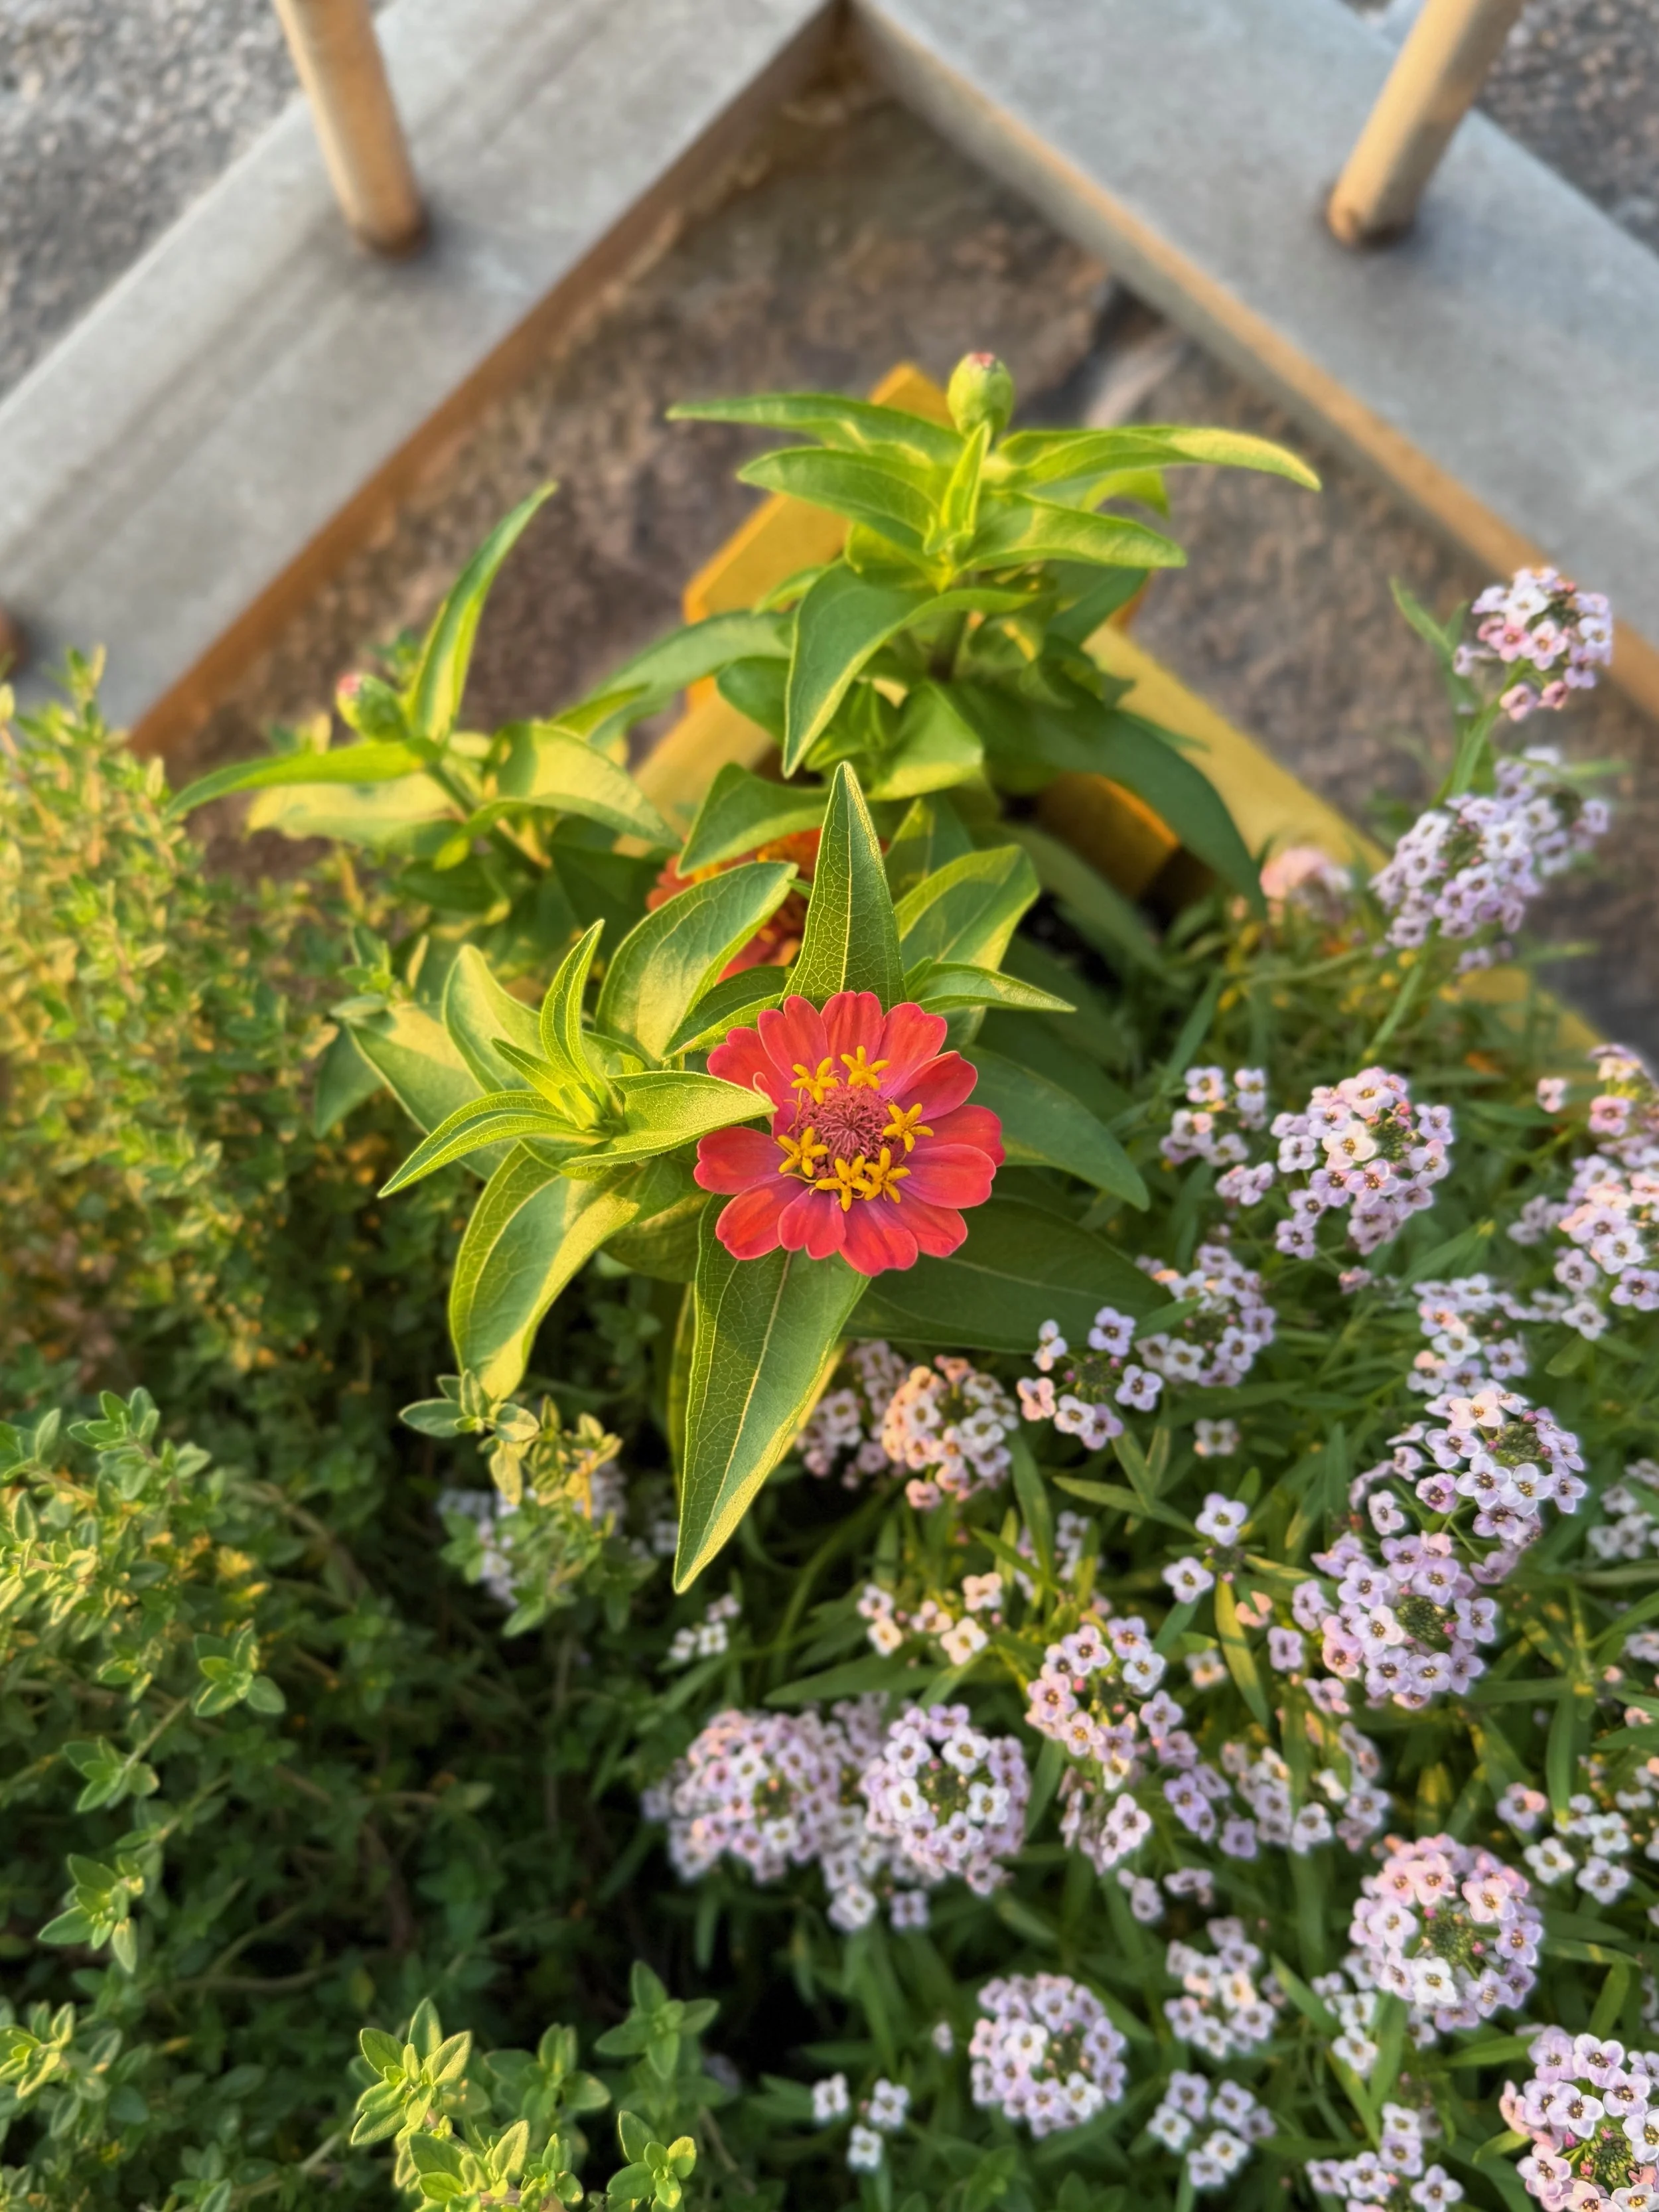
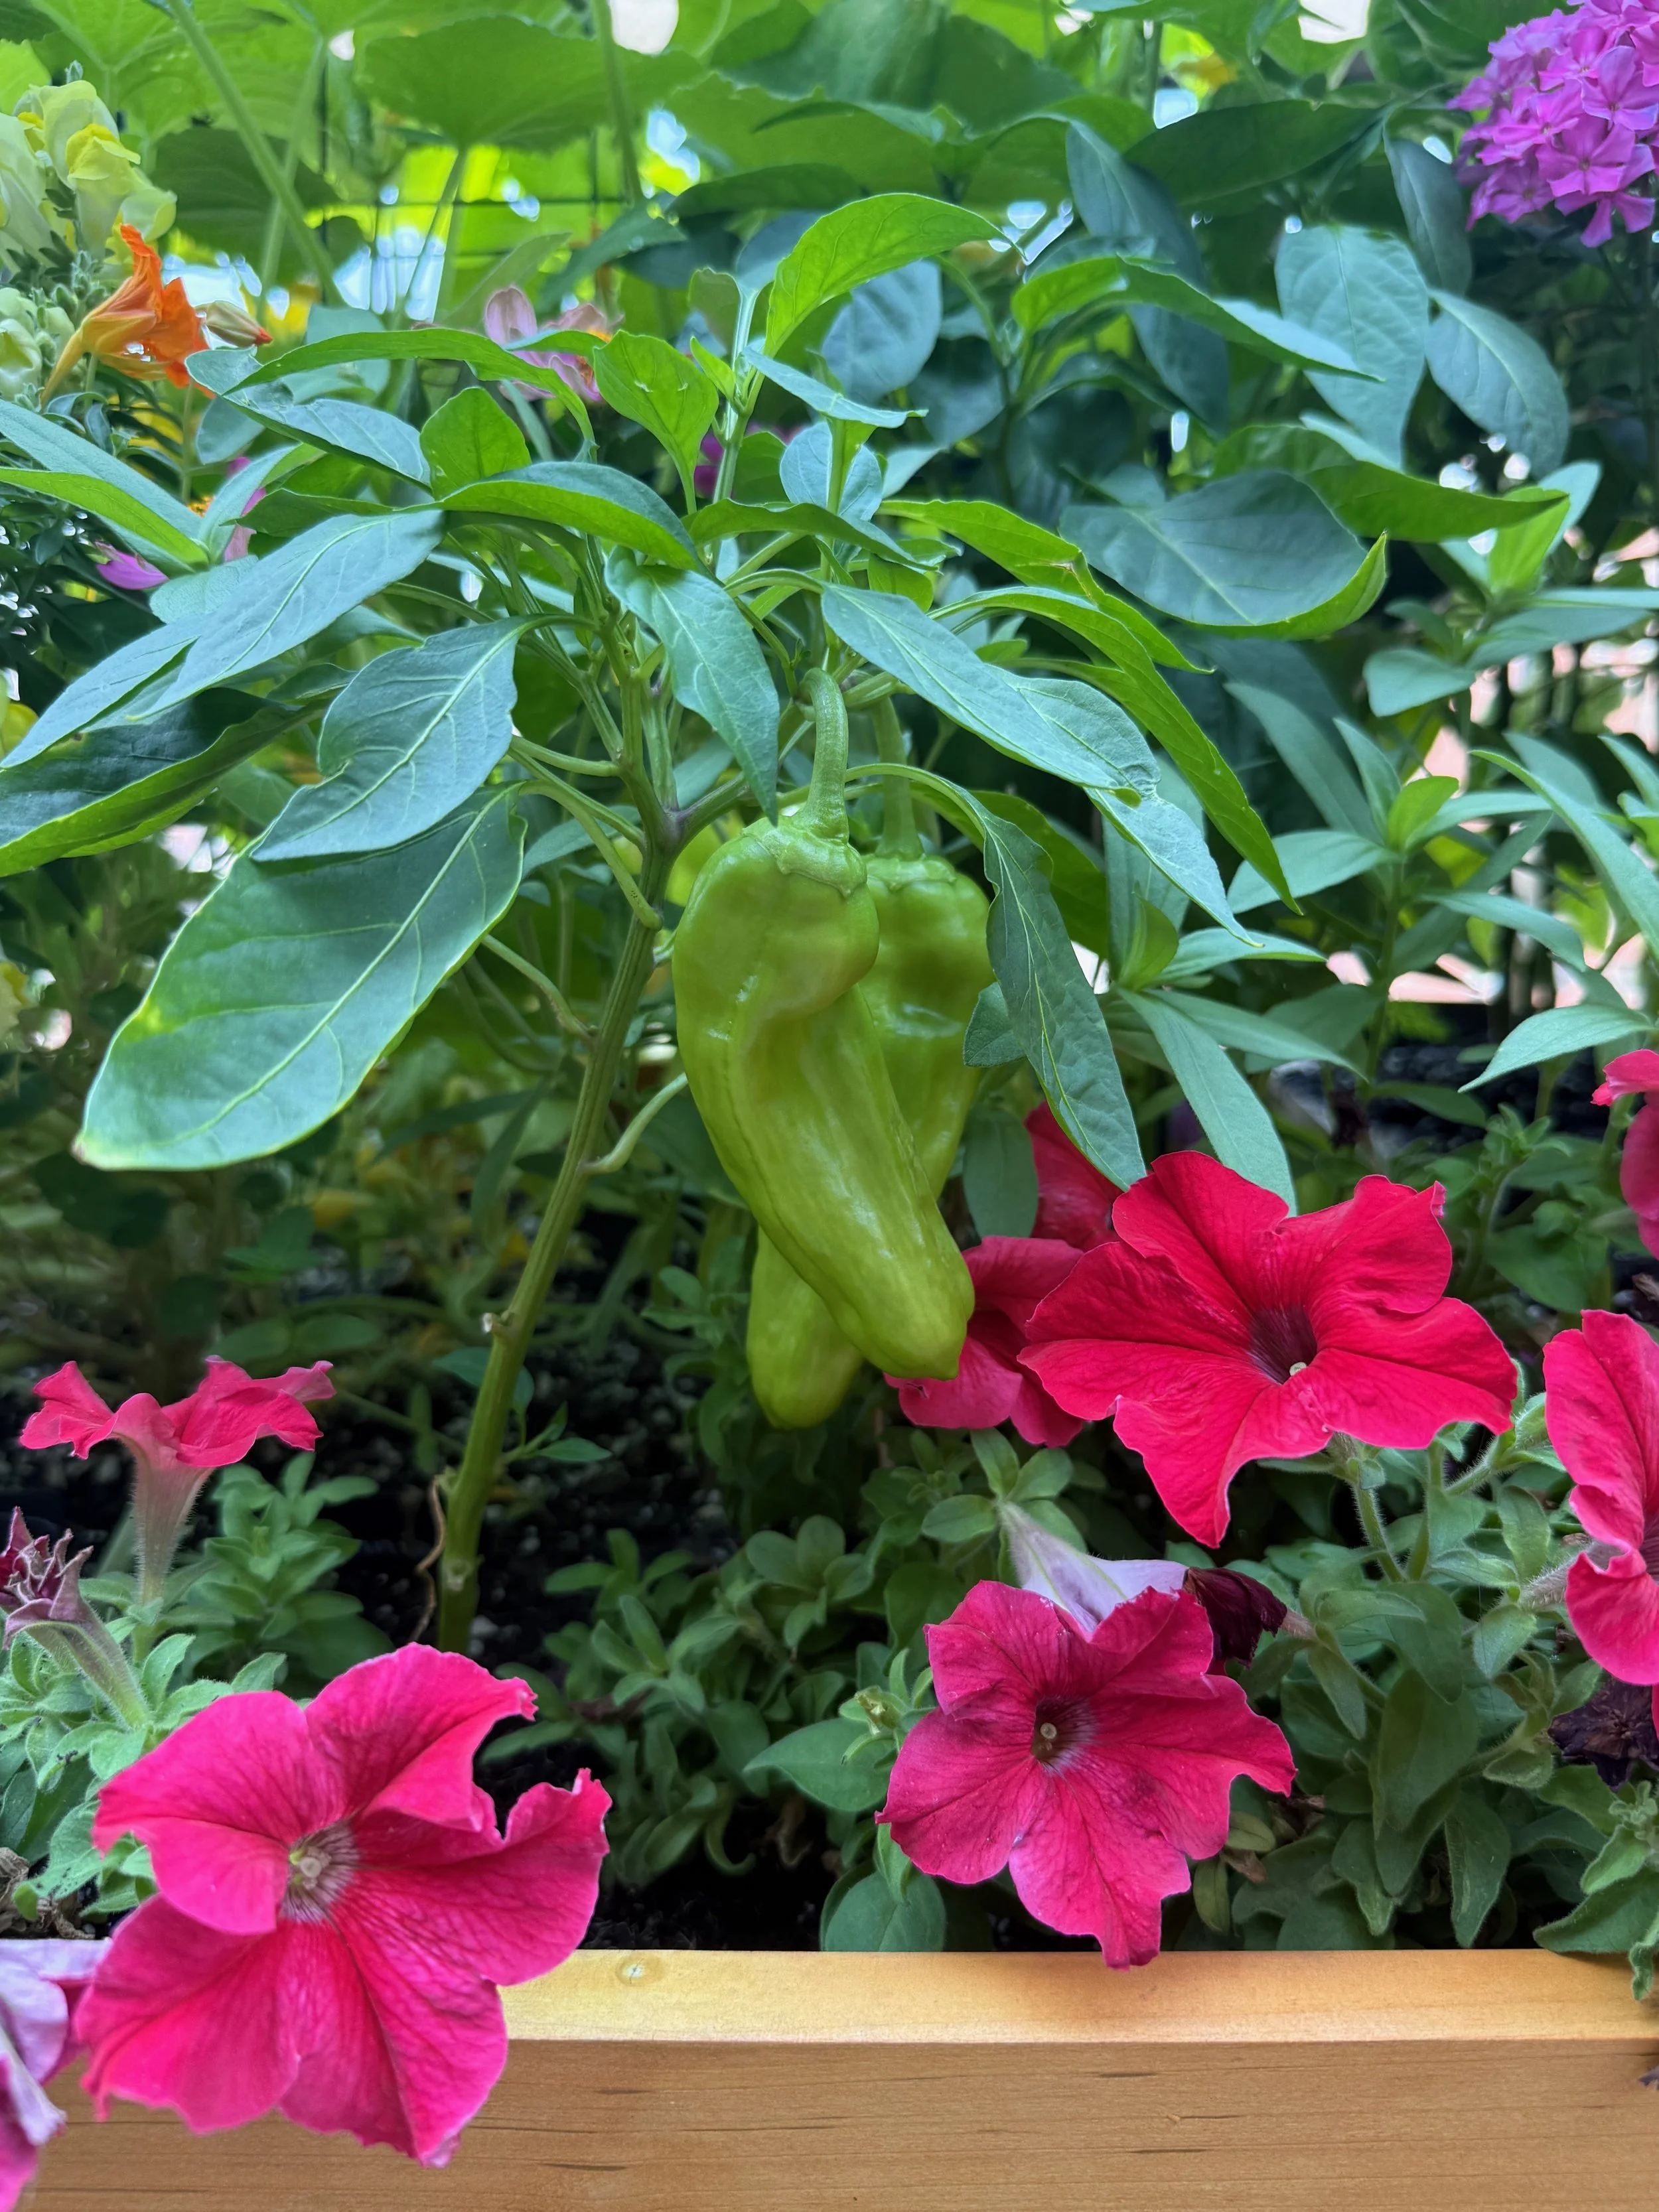
The boxes were feeling a bit empty without all of our leafy lettuce plants, so Kiyana and I picked up a hot pink Volcano phlox and a bunch of reddish-pink petunias at the farmers market, and those are all doing very well. I also planted some seeds at the end of May that have now either started to flower or are very close to it—my Thumbelina (!) zinnias popped open last week, and the first of the marigolds I planted literally opened up a couple hours ago.
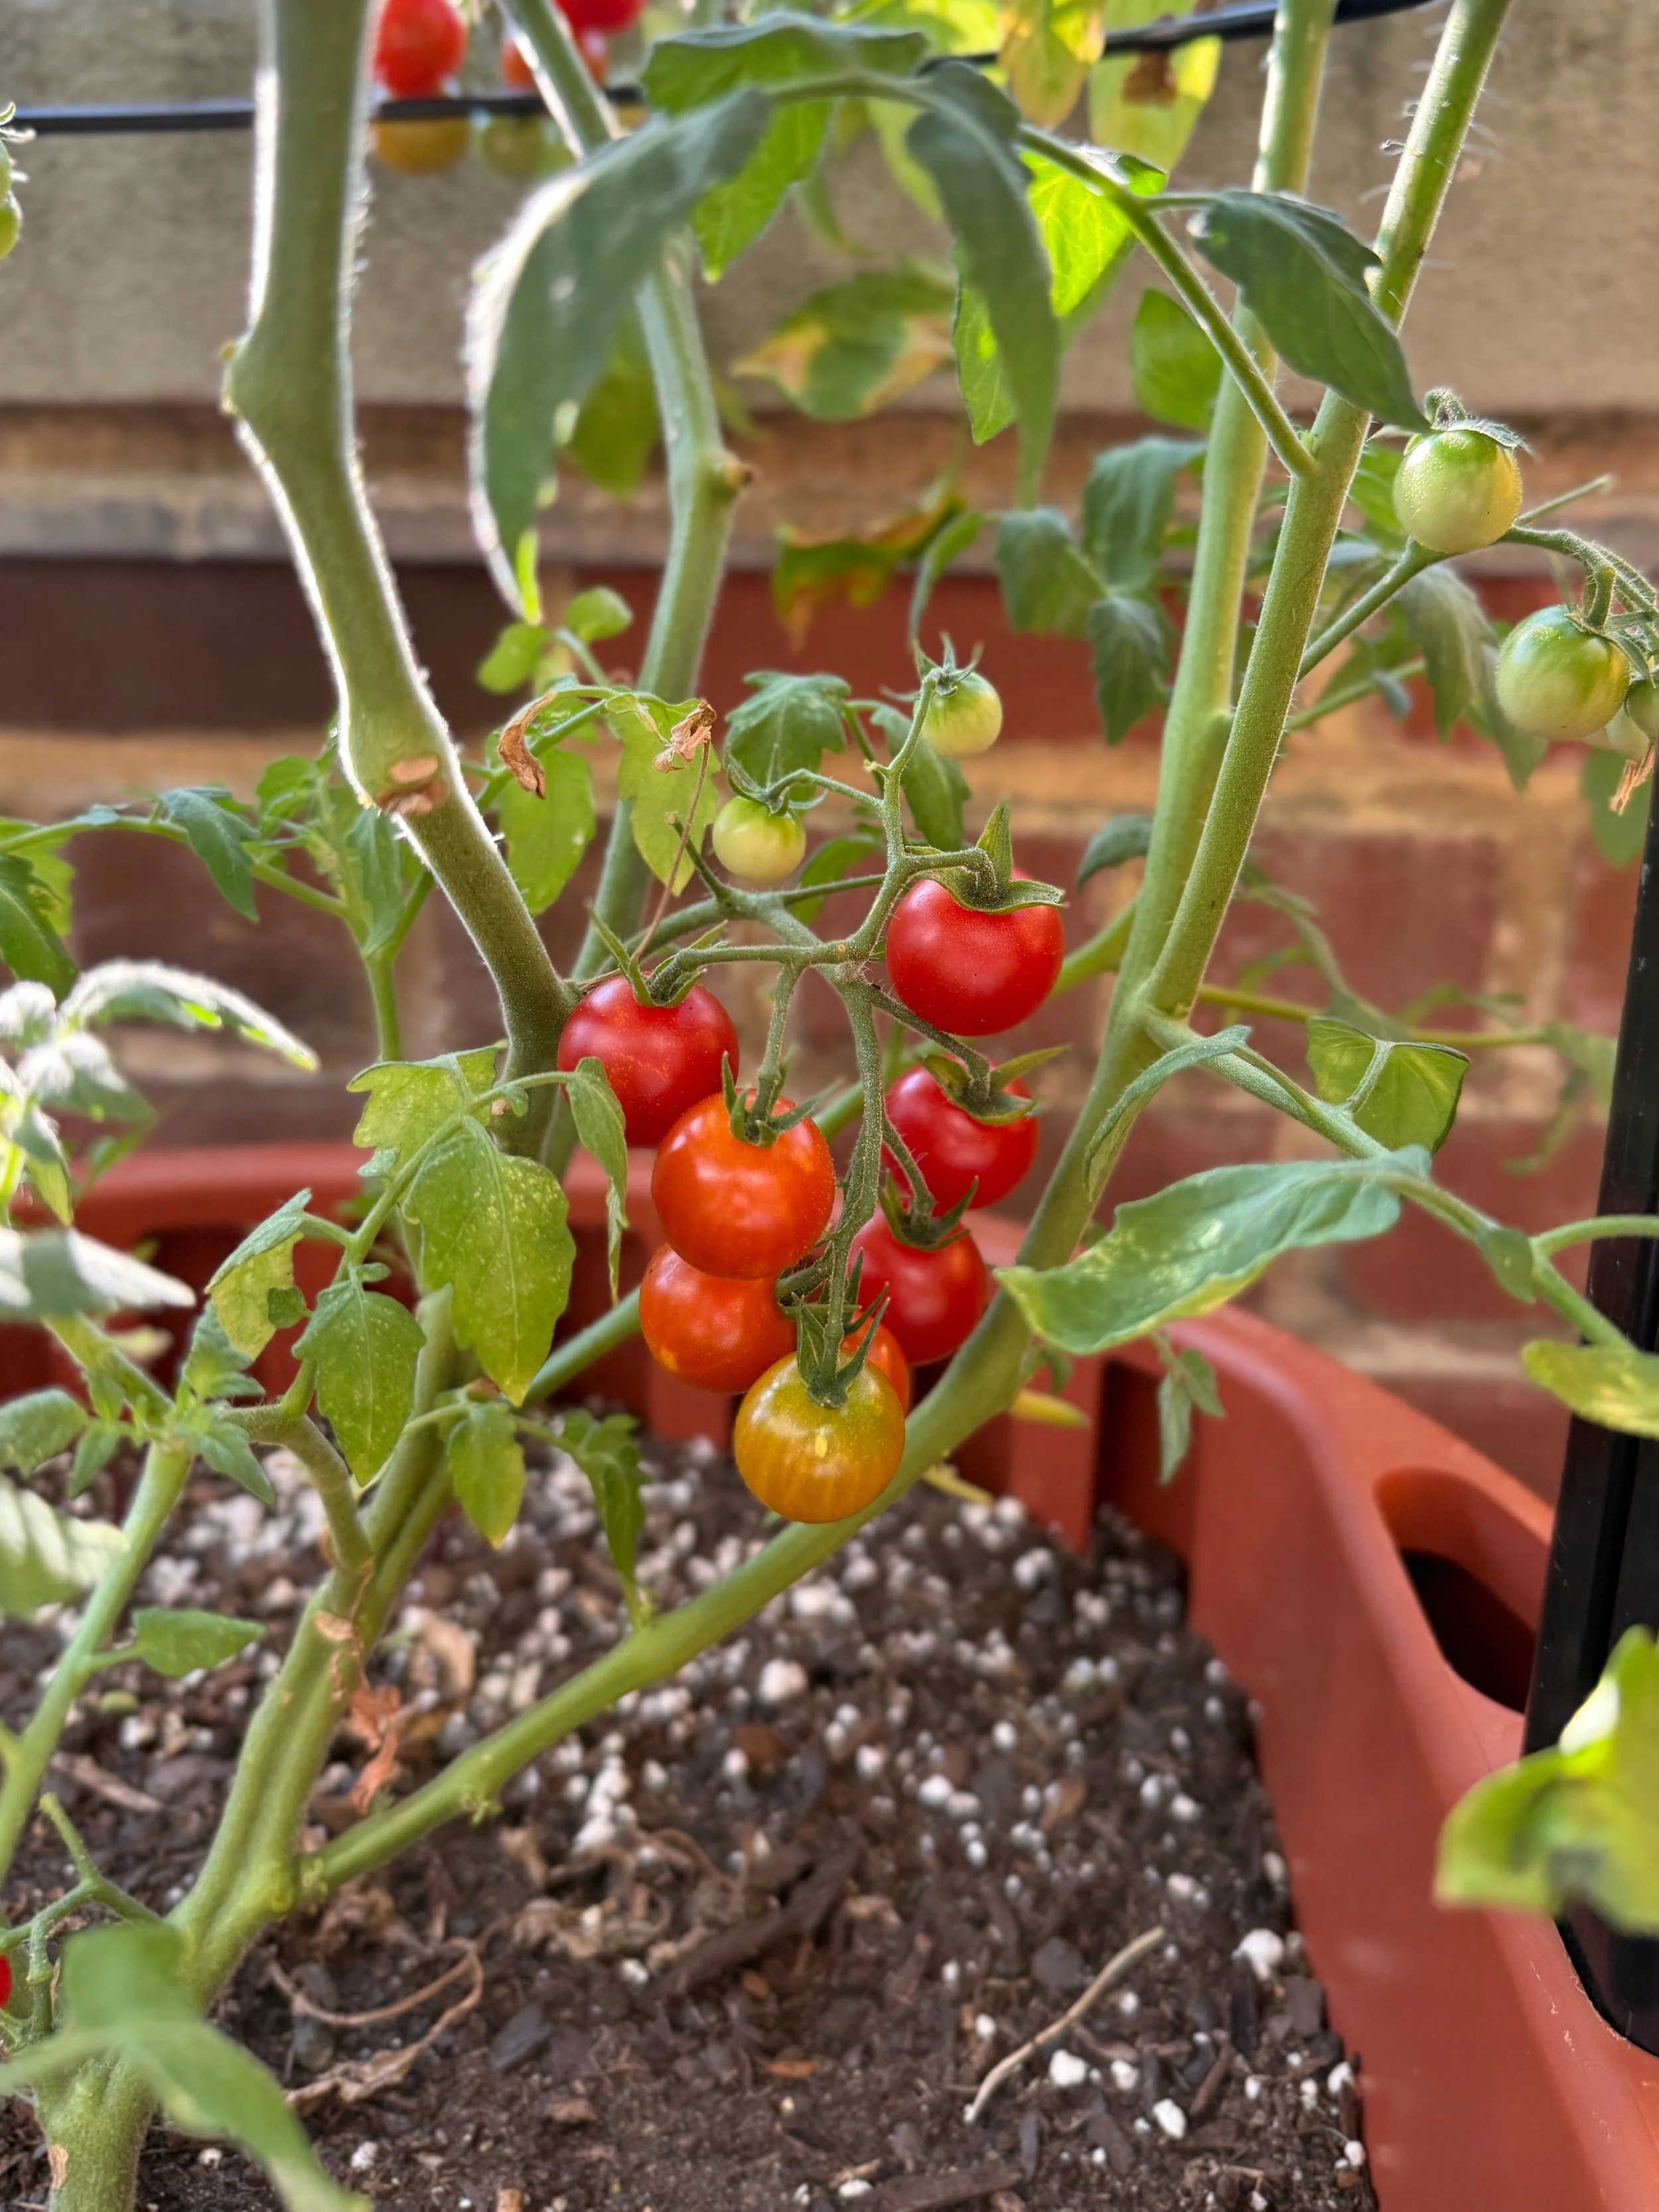
Meanwhile, our tomato plants have basically doubled in height since my last update and are now producing lots of fruit. We’ve been able to harvest a ton of the Super Sweet 100s, which are delicious (and I don’t even like cherry tomatoes that much); I think we’ll try to do two of these plants next year because we’re so into this one.
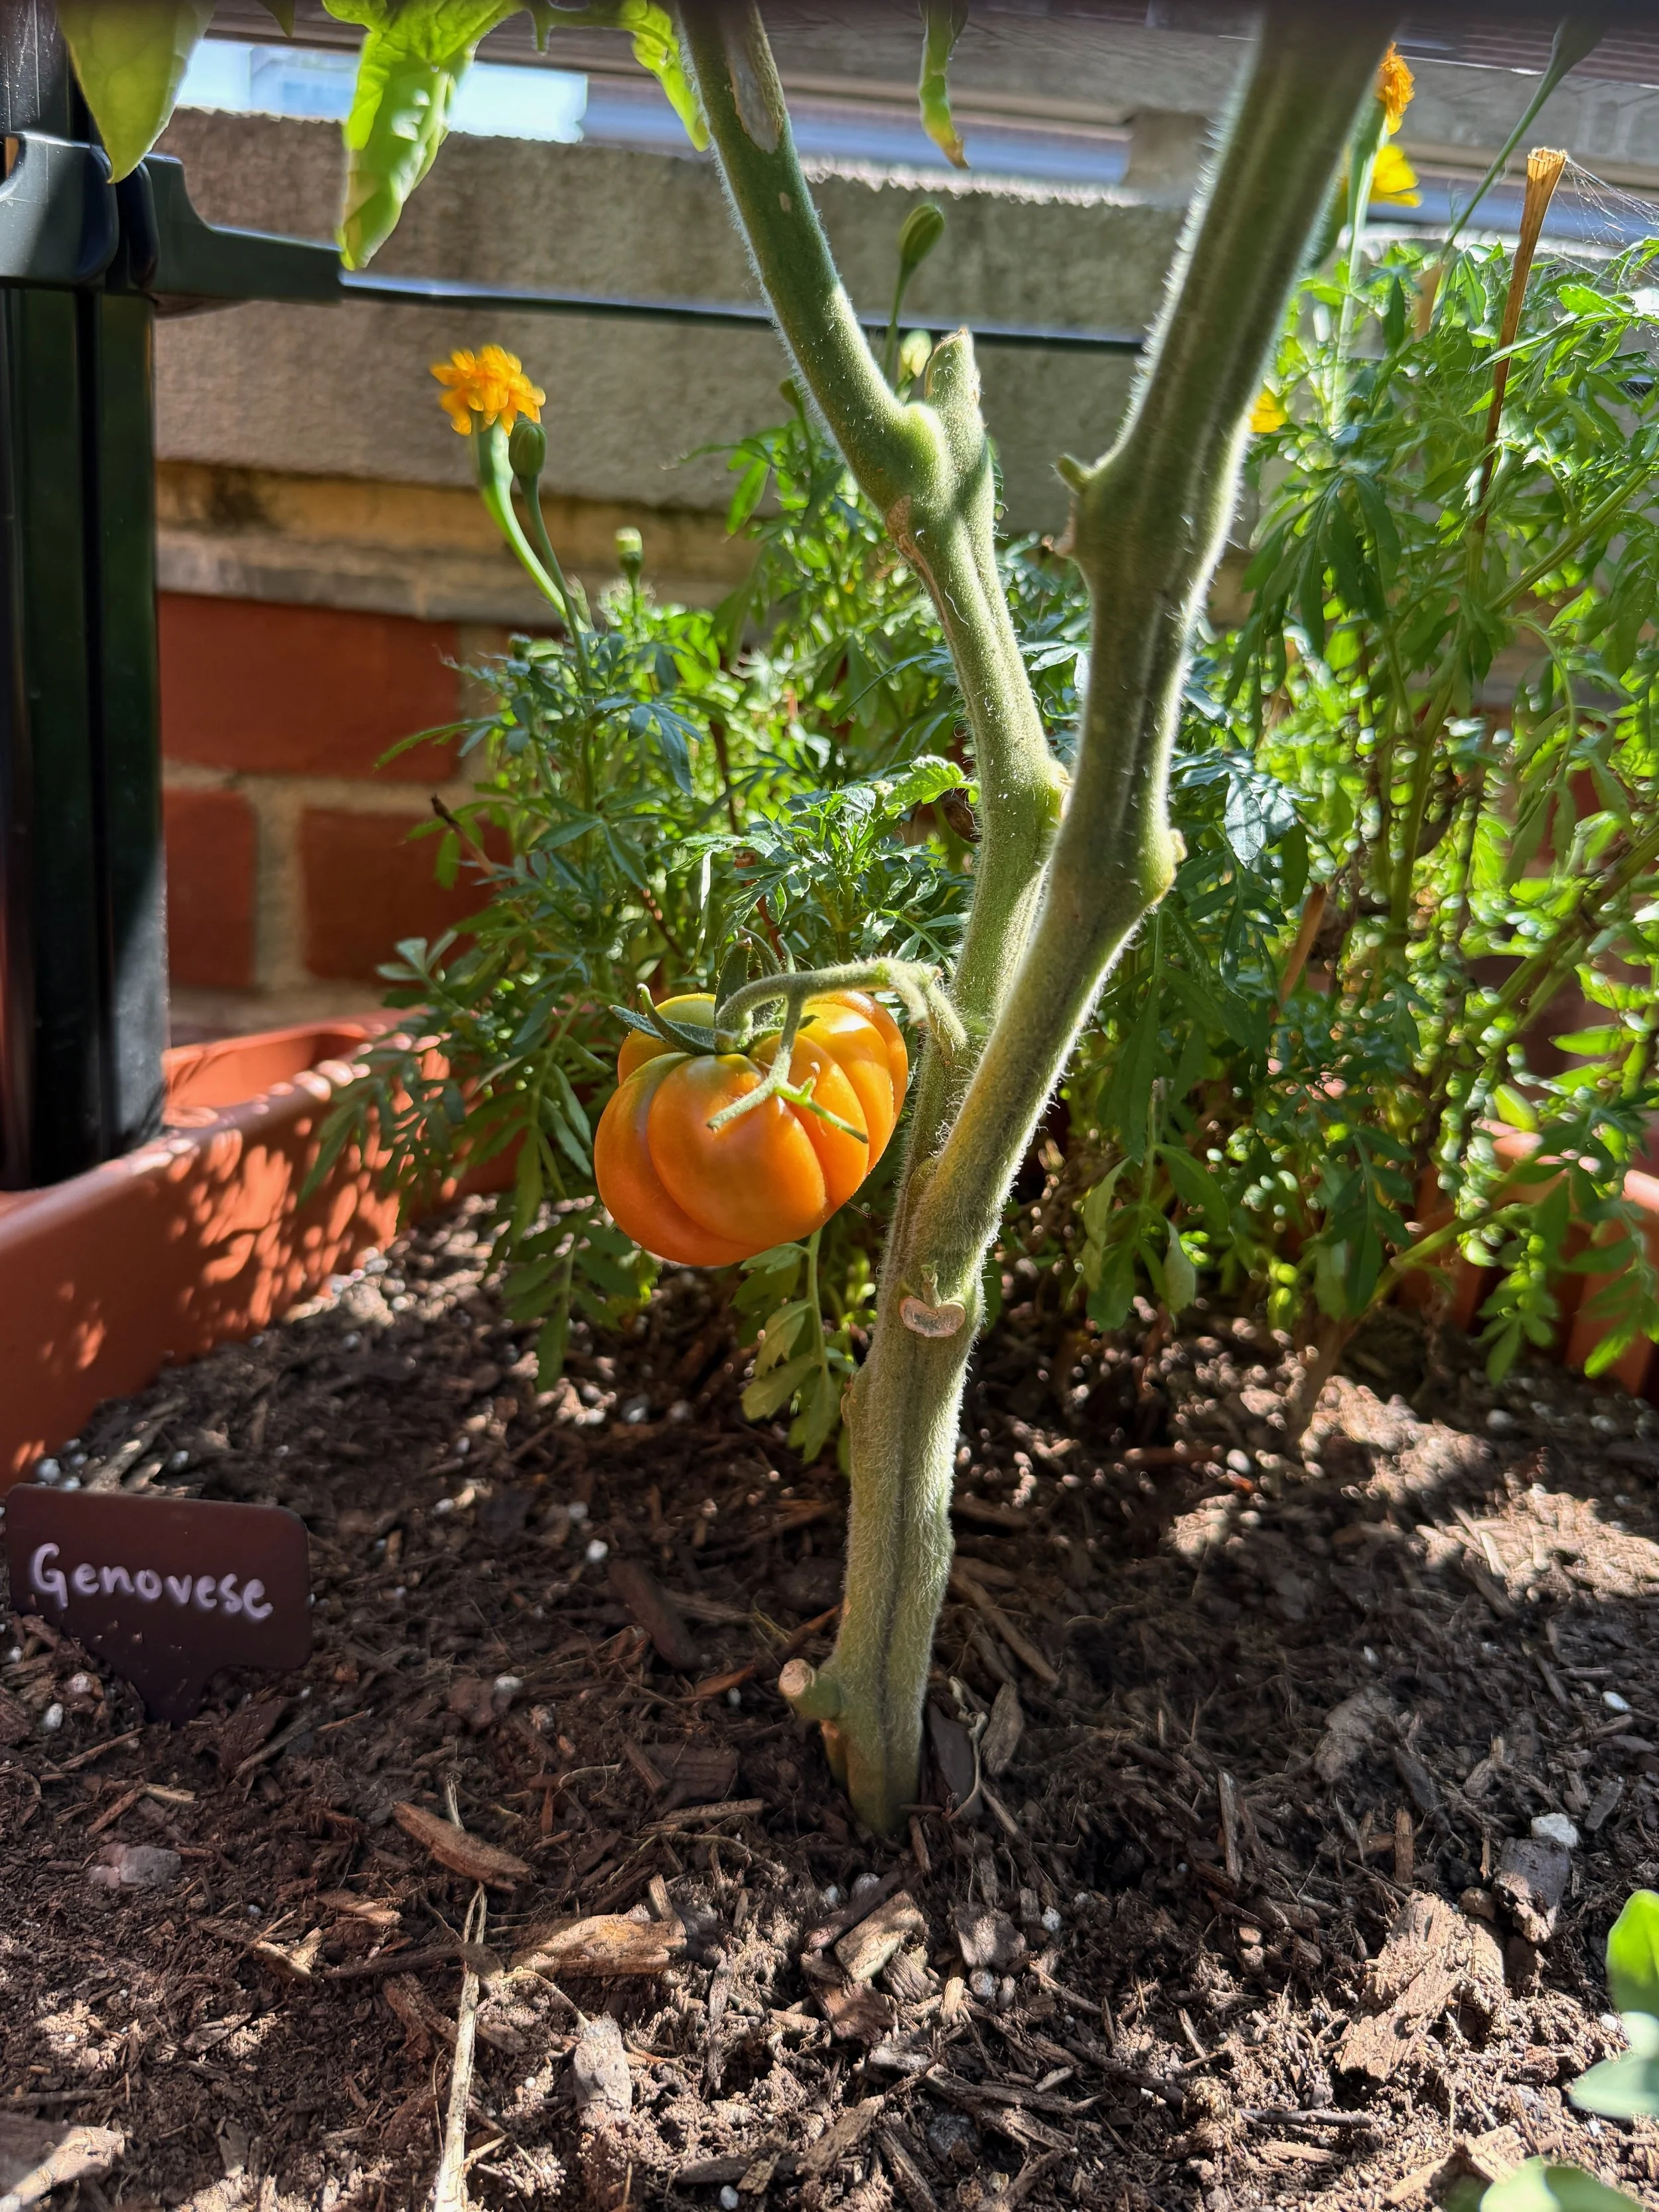
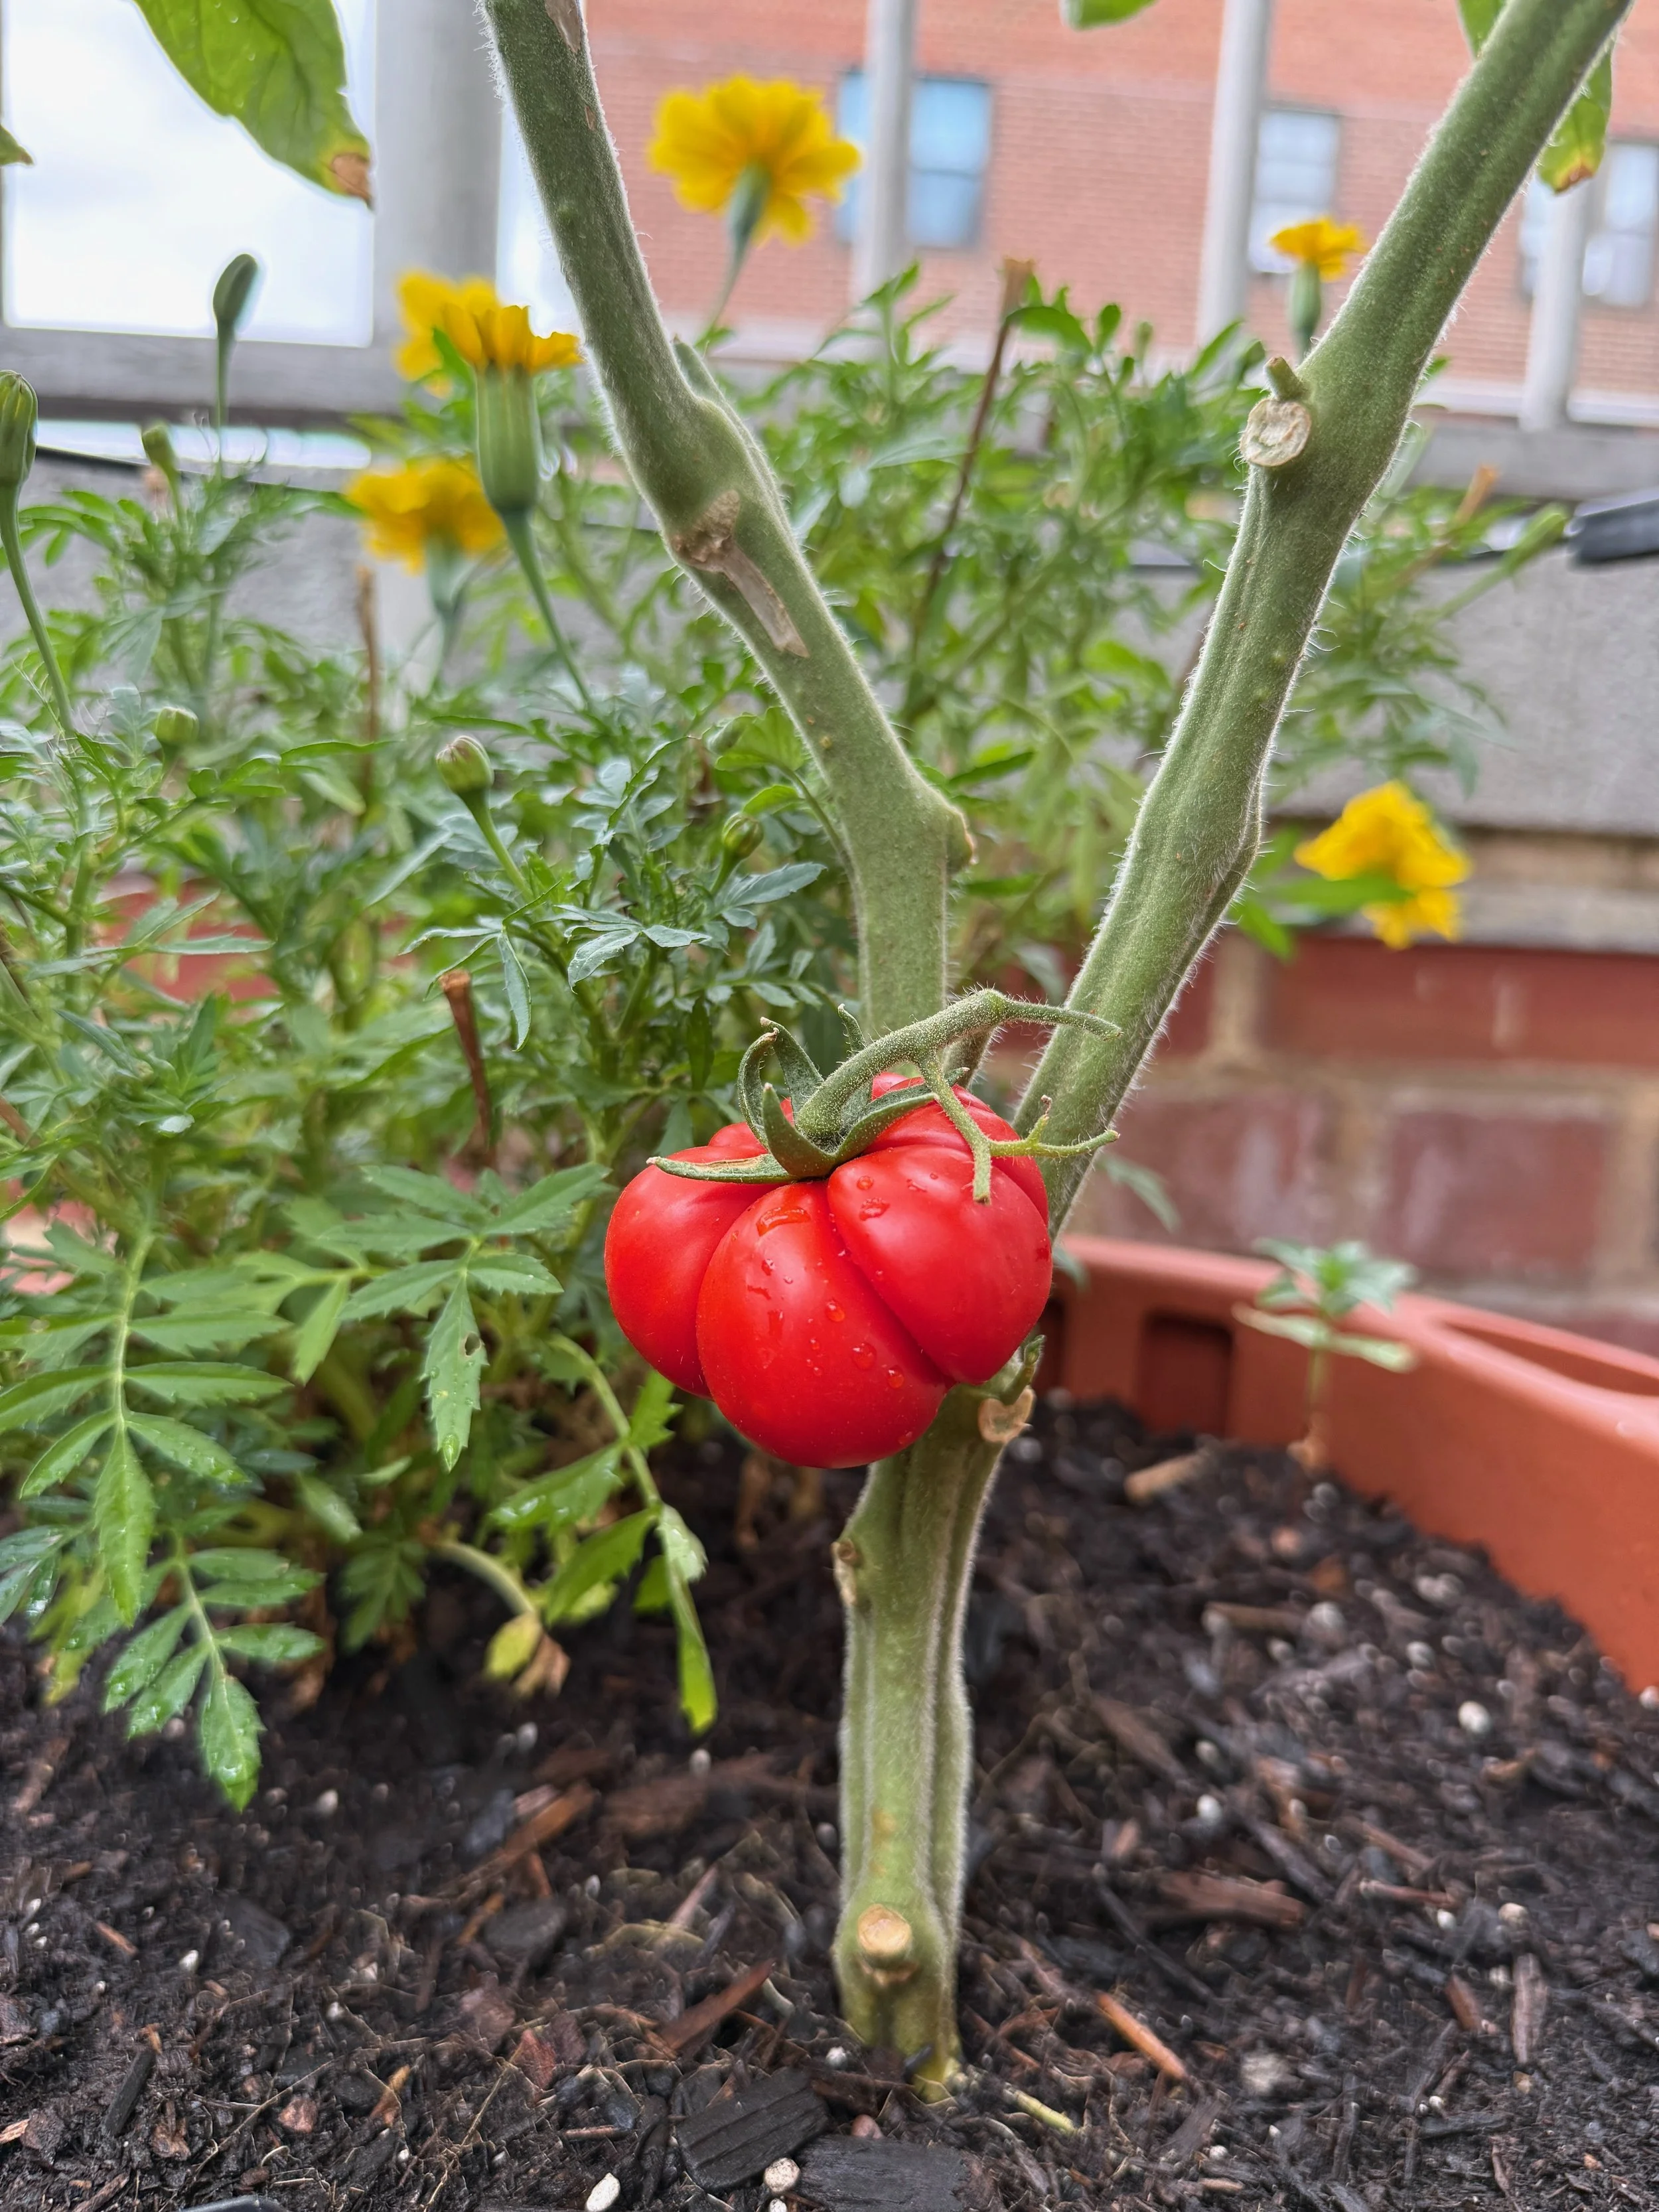
We’ve also picked a few of the Genovese tomatoes, which look like tiny fairy tale pumpkins and turn the most beautiful shades of yellow, orange, and then red as they ripen.
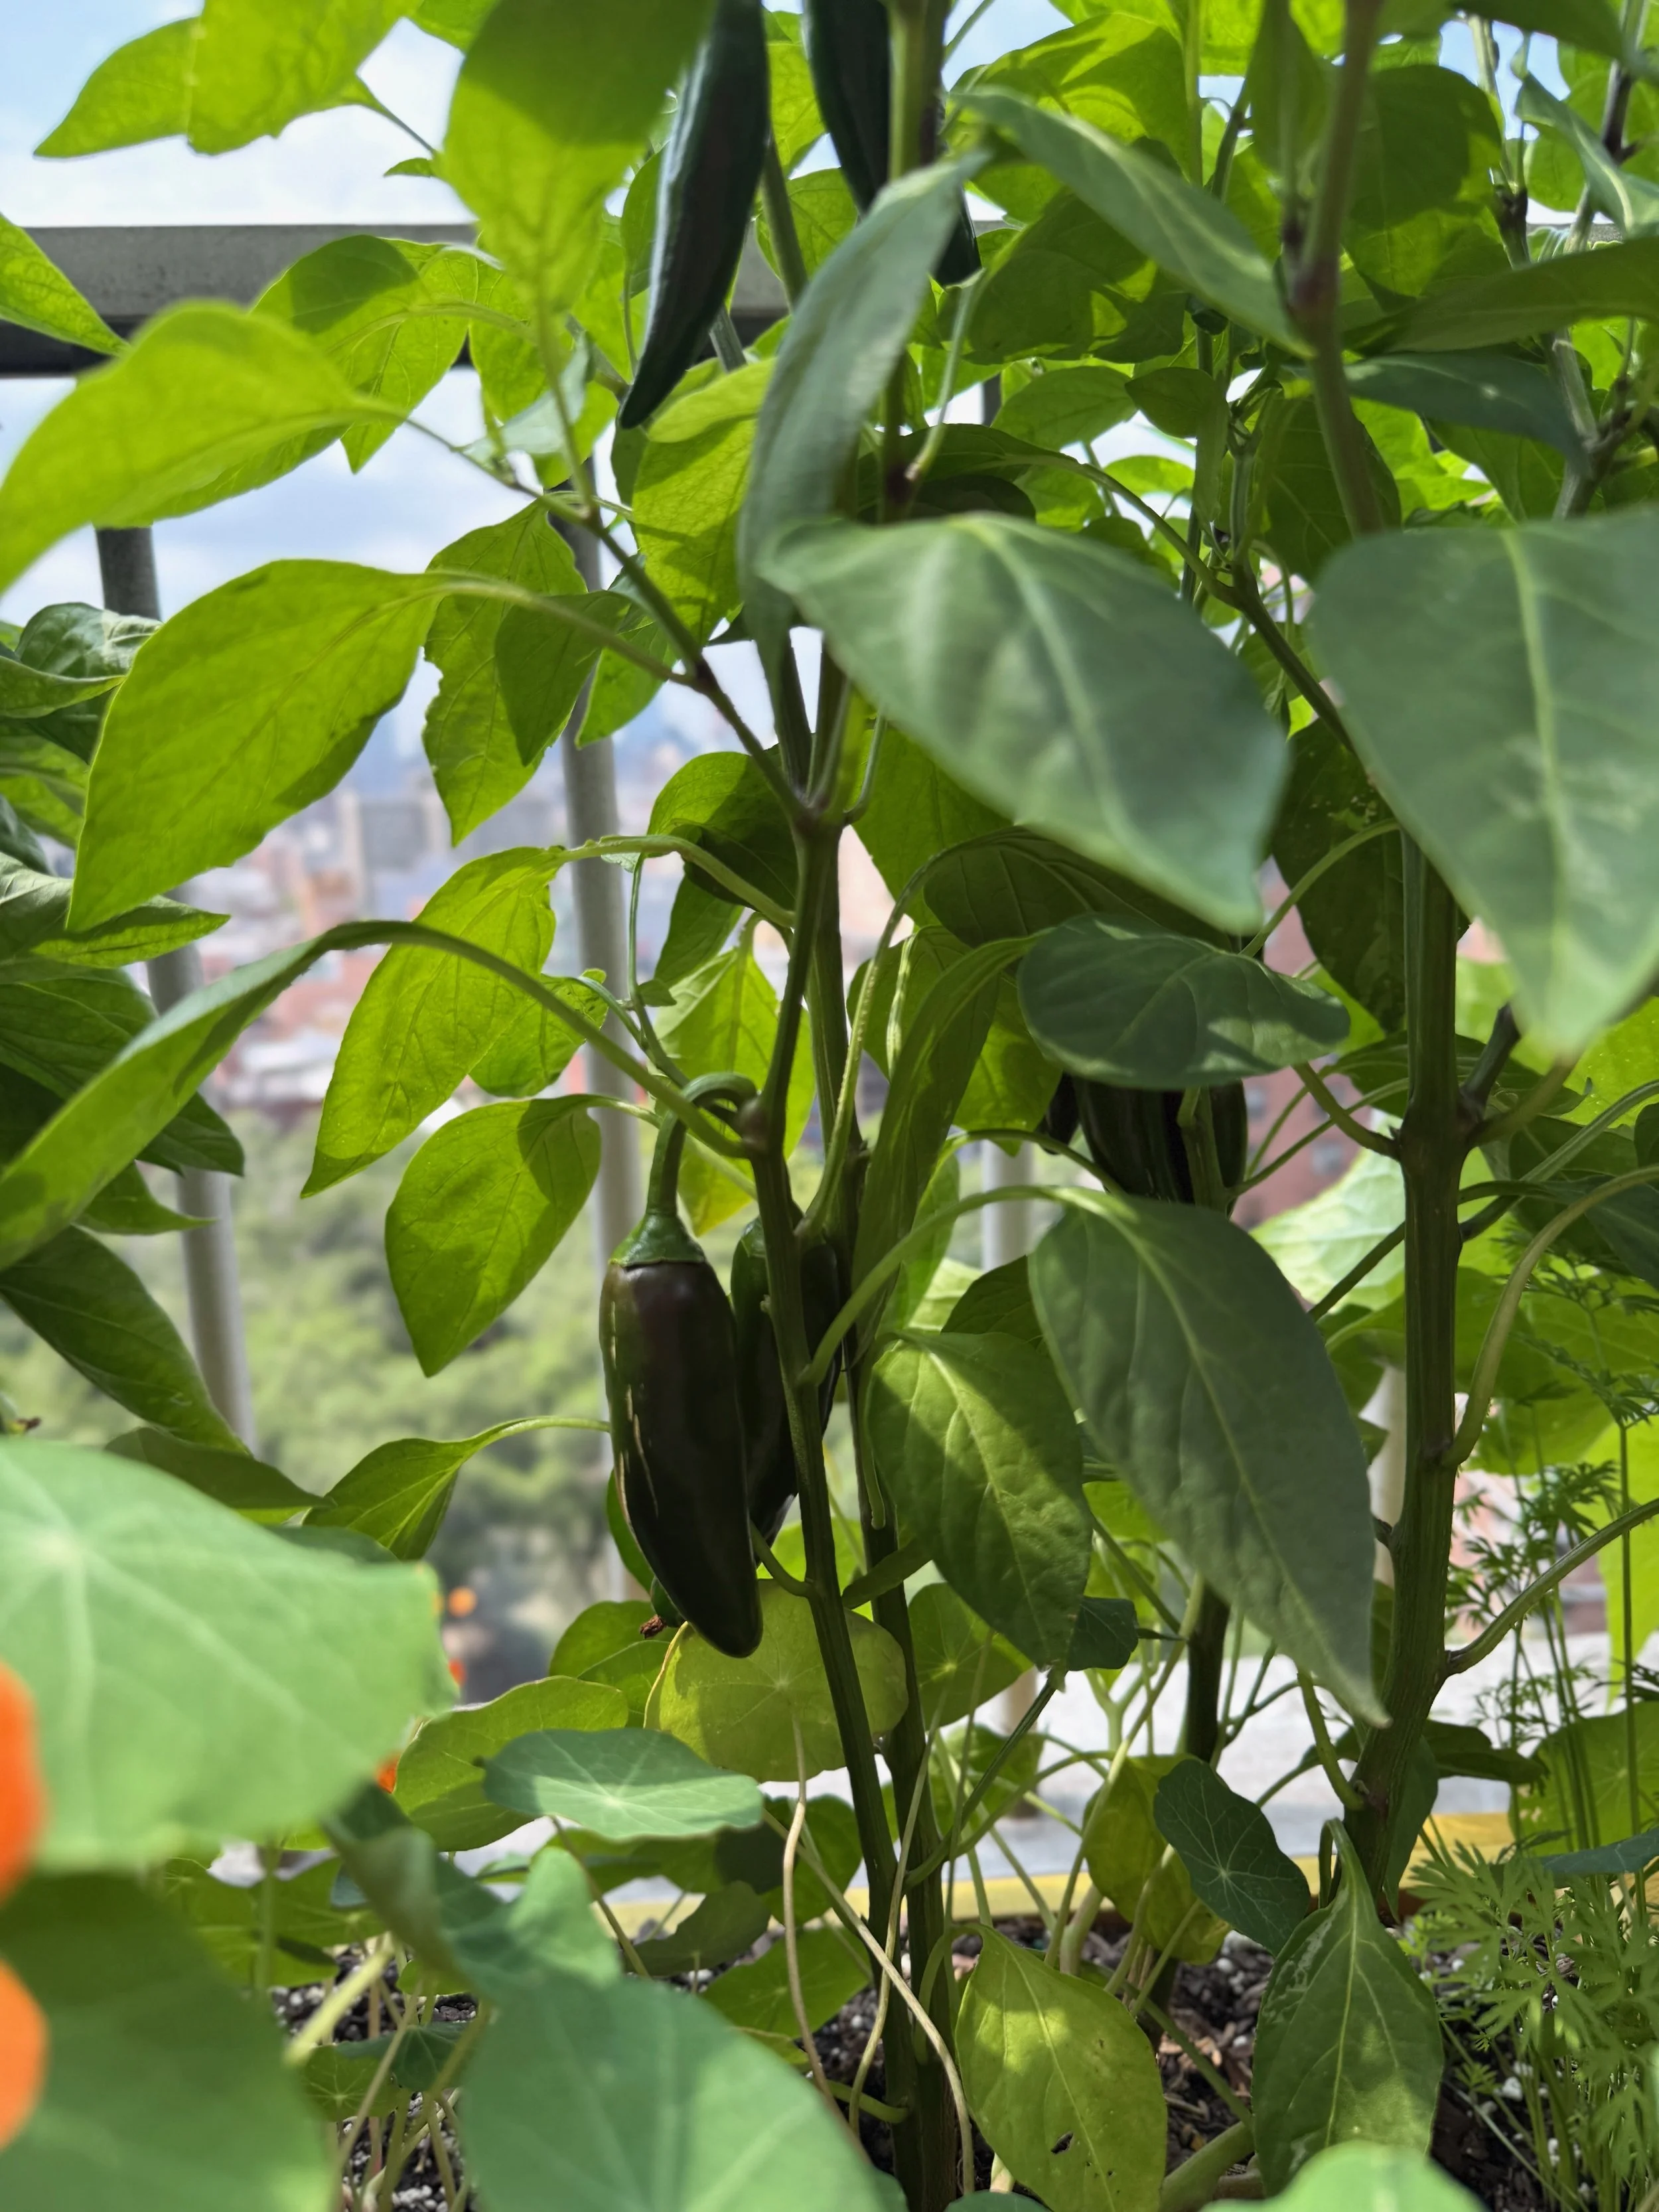
We’ve also got tons of little jalapeños growing, along with several beautiful Italianelle peppers and a few big fat green bell peppers.

I gotta say…I’ll definitely never love summer, but this garden is making me wish it away less than I have in the past! I’m already sad thinking about a future where I don’t get to come out and water the plants every morning.
If you’re currently growing anything, I’d love to know how it’s going! 🌼